Idea Planner helps you move from scattered ideas to a real publishing plan. Use it for scripts, titles, references, schedules, and Create with AI handoff.
Start here
Open Idea Planner from the Home Hub or from the channel flow. Select the channel you are planning for, then connect YouTube if you want upload-ready details and auto posting. Use Add Idea, Import CSV, or Suggest Ideas to fill the planner. Organize the list with Idea Type, publish dates, filters, and the List / Calendar / Posted views. Open any card to add focus, title, script, thumbnail, YouTube reference, and Create with AI settings. When an idea is ready, launch Create with AI, upload it manually, or mark it as posted after it is live.
YouTube Strategist Preview
Use Idea Strategist to generate channel-aware ideas inside the planner, then keep the strongest
ones
and turn them into scheduled, production-ready plans.
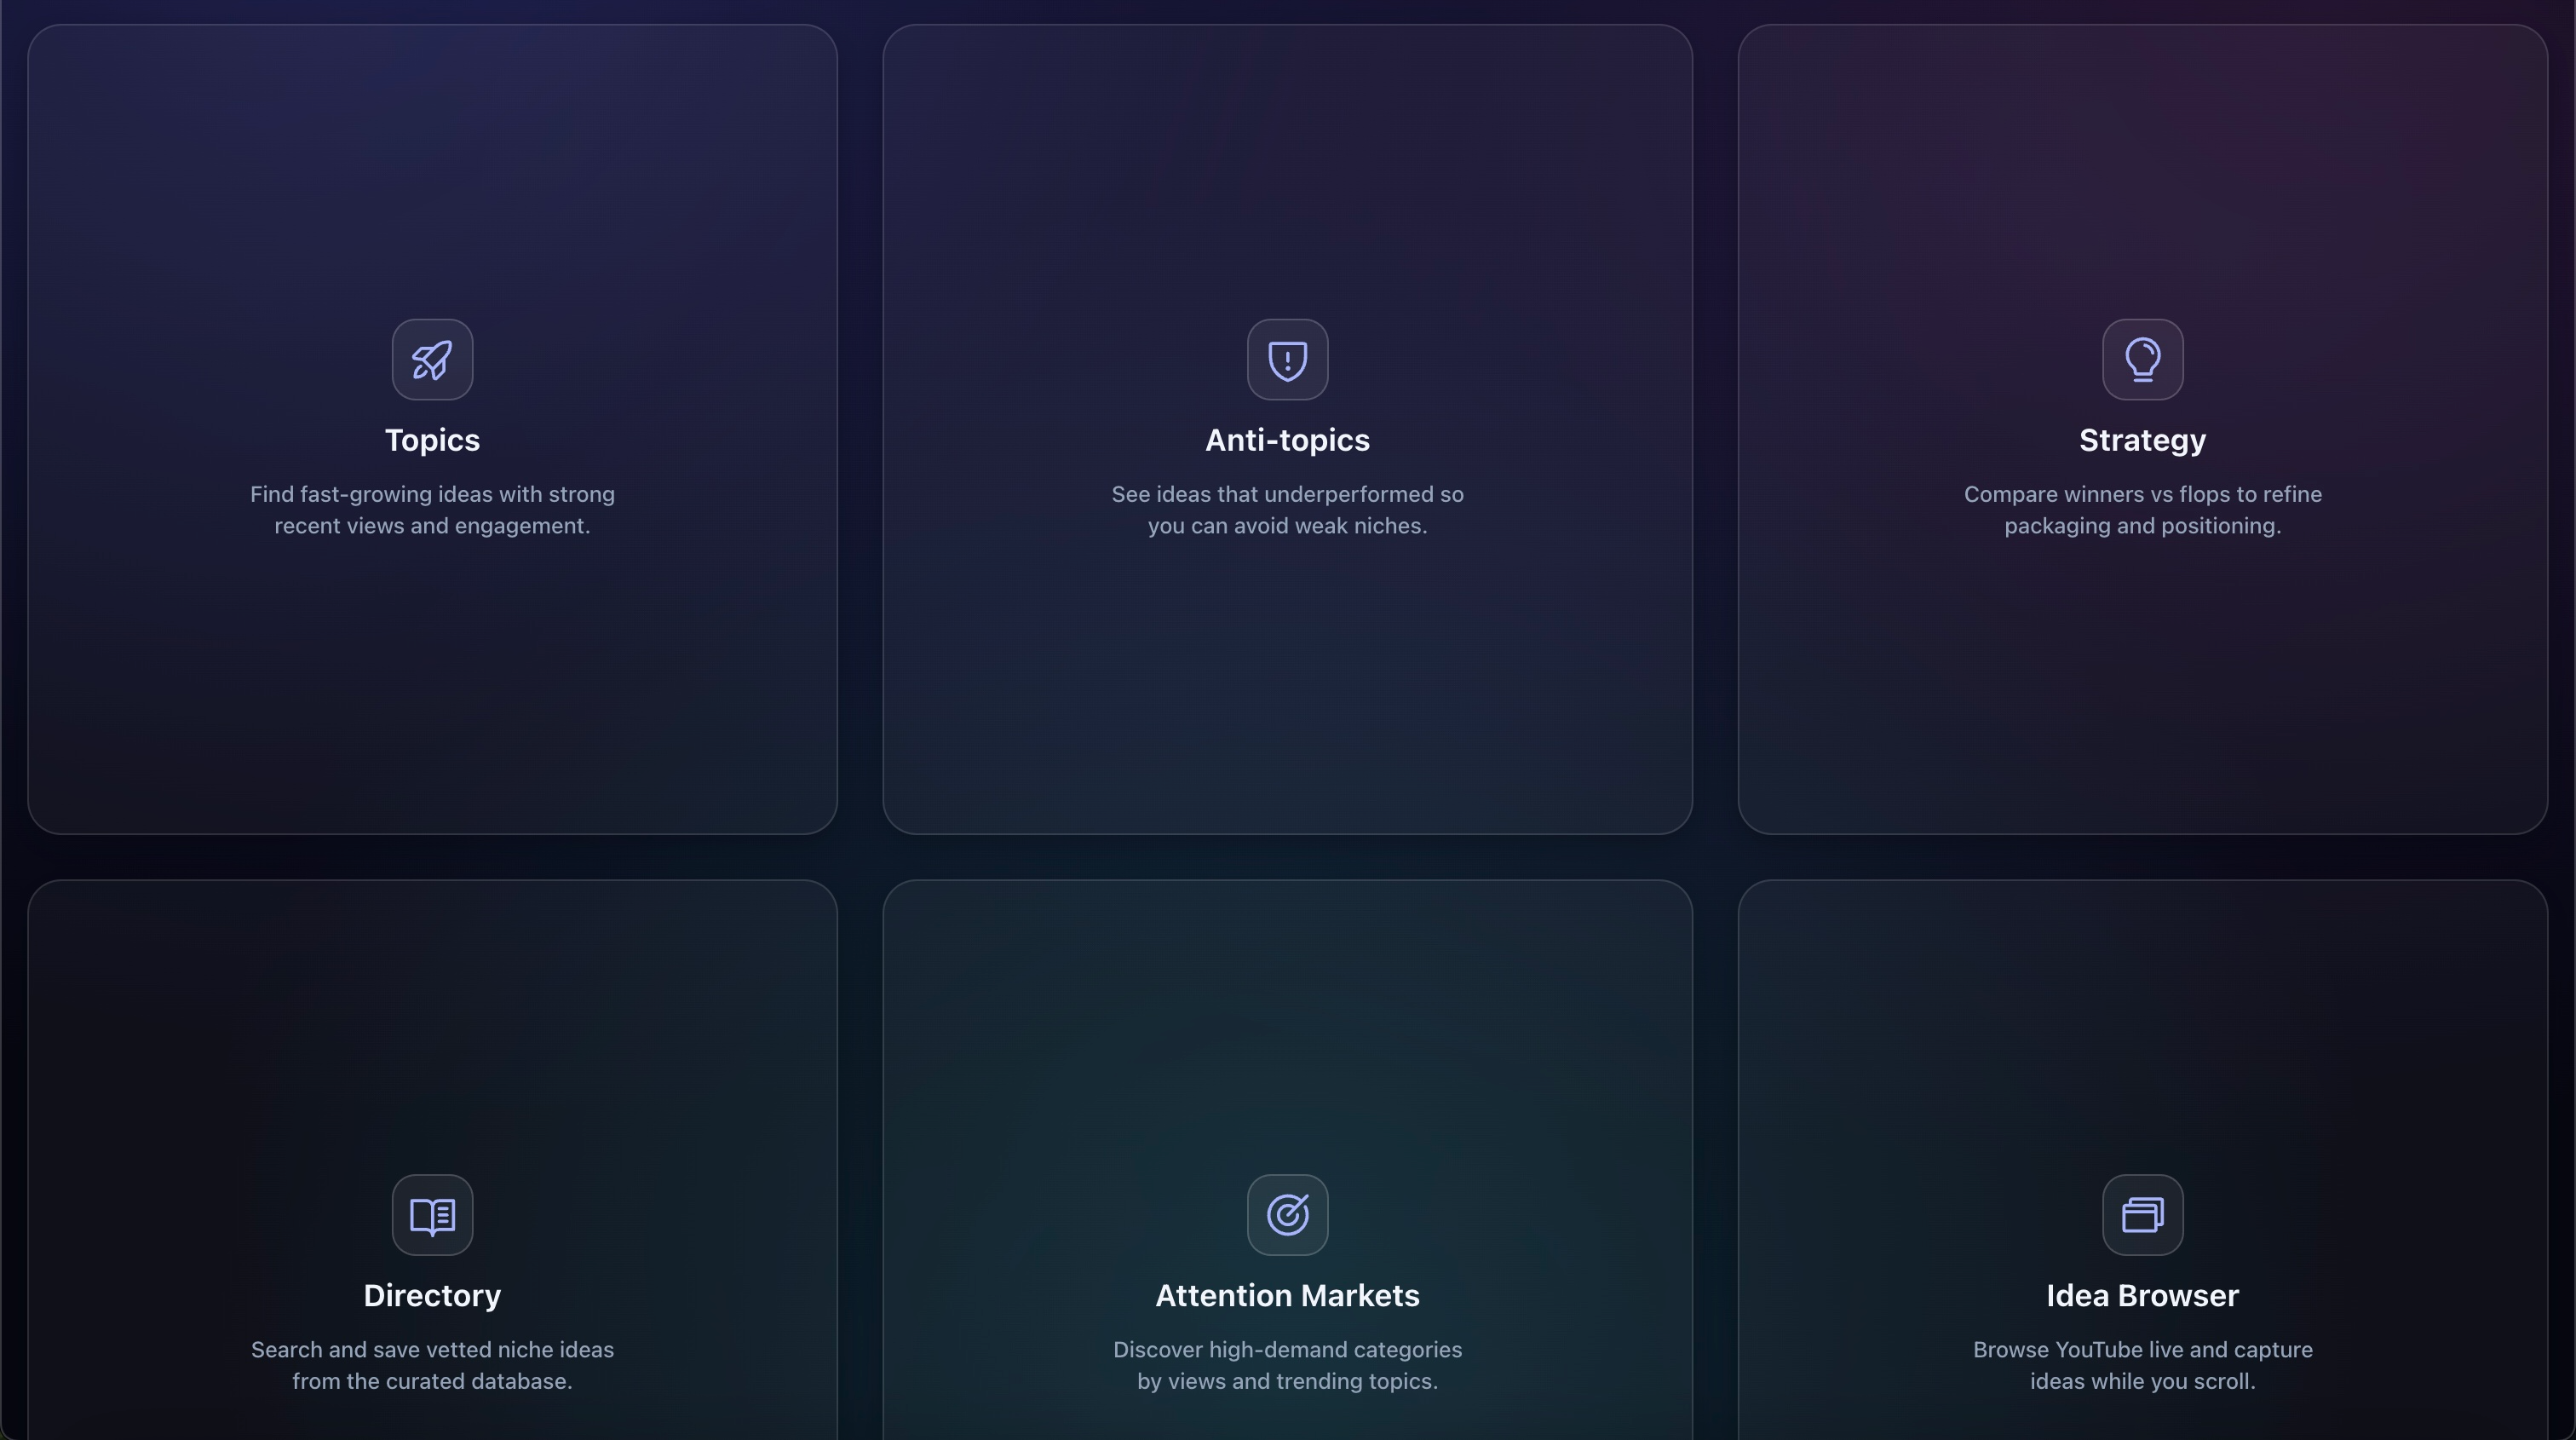
What it does
Idea Planner is Fractal's dedicated content-planning workspace. It sits between research and
production: you collect ideas, shape the angle, decide what each video is supposed to do for the
channel, line up publish dates, and prepare everything that Video Creator or YouTube upload automation
will need later.
It is more than a notes list. Each planner item can carry channel context, idea type, script
strategy, YouTube details, a thumbnail, a reference video, a linked rendered file, and Create with AI
launch settings. That makes it the handoff layer between Idea Browser, Script Shufflr, Create with AI, and your
actual posting flow.
Who it helps
Creators publishing on a schedule: Plan a week or month of uploads without losing
track of what is drafted, scheduled, or already live.
Faceless or high-volume channels: Keep ideas, scripts, details, and AI
generation settings together so you can move faster.
Research-heavy channels: Save competitor or inspiration videos as references,
then turn them into original ideas and production-ready plans.
Teams and repeatable flows: Use idea types, filters, and channel-specific
planning to keep the pipeline organized.
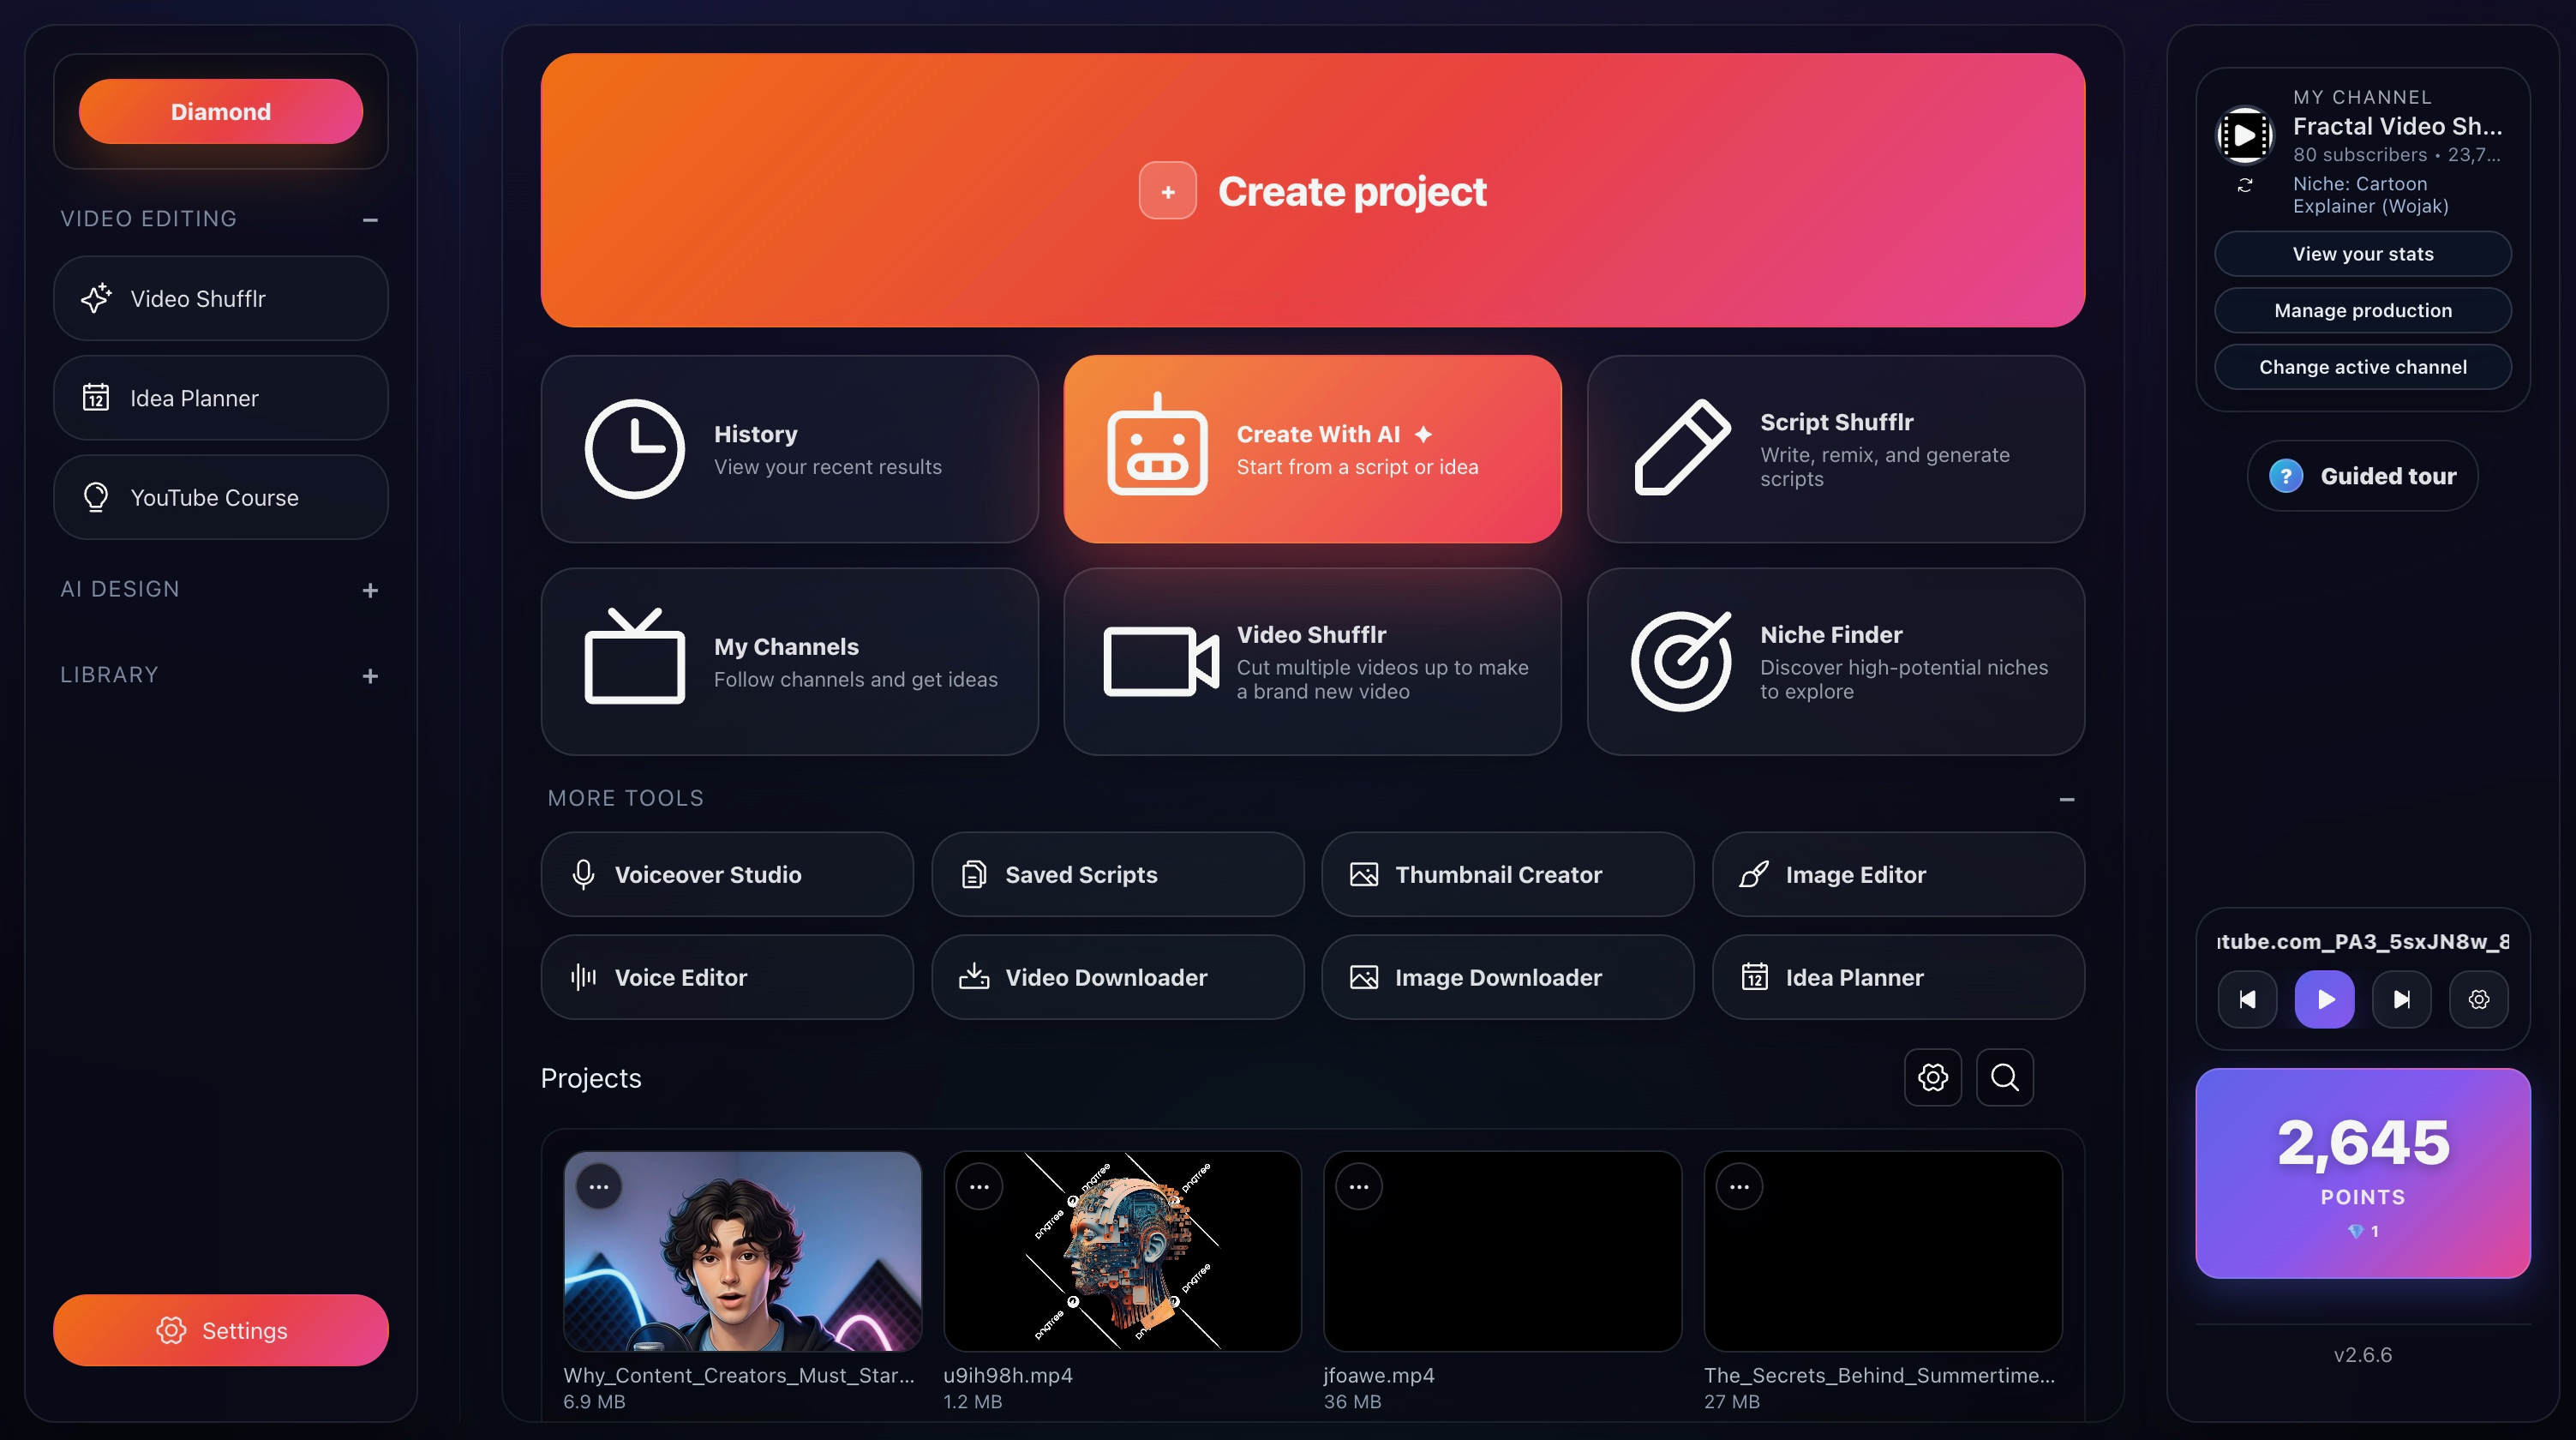
How to open it
Home hub: Open Idea Planner directly from the main app flow.
Channels flow: Use the Idea Planner entry points in the channel tools when
you want to move from channel strategy into a saved plan.
From row-level planning: Saved ideas can be reopened, edited, explored, and sent
into Create with AI from inside the planner itself.
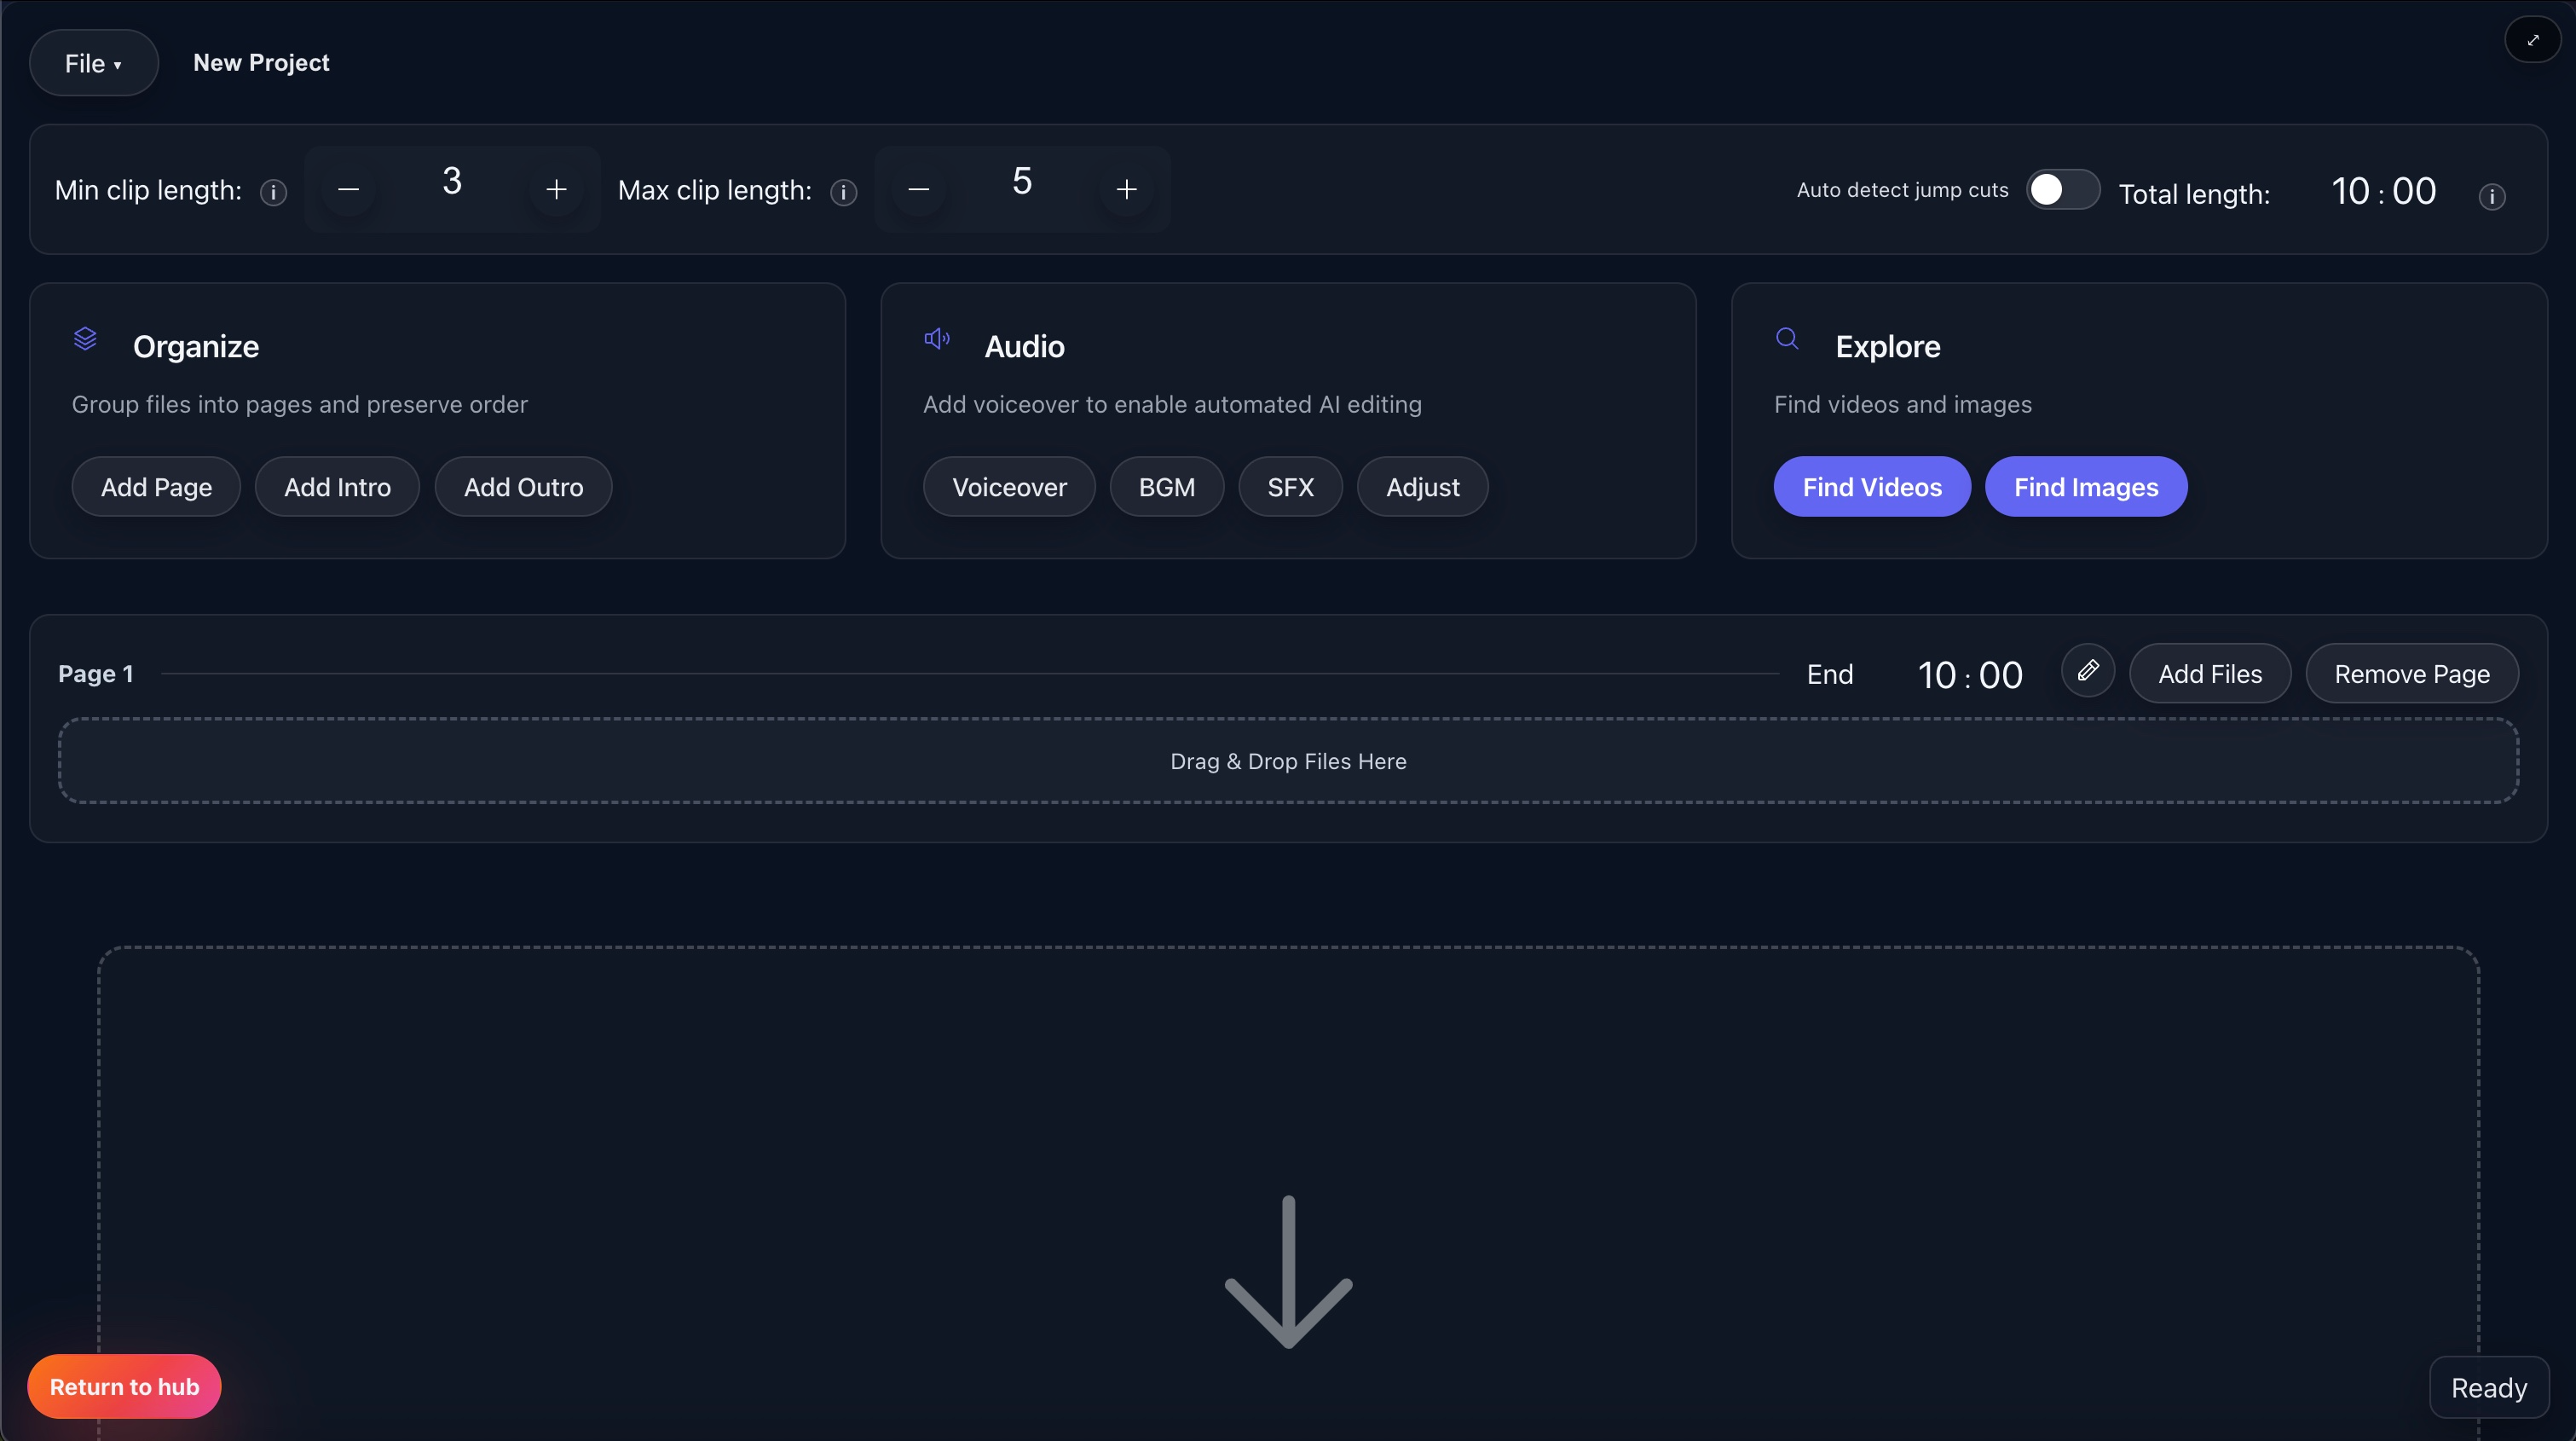
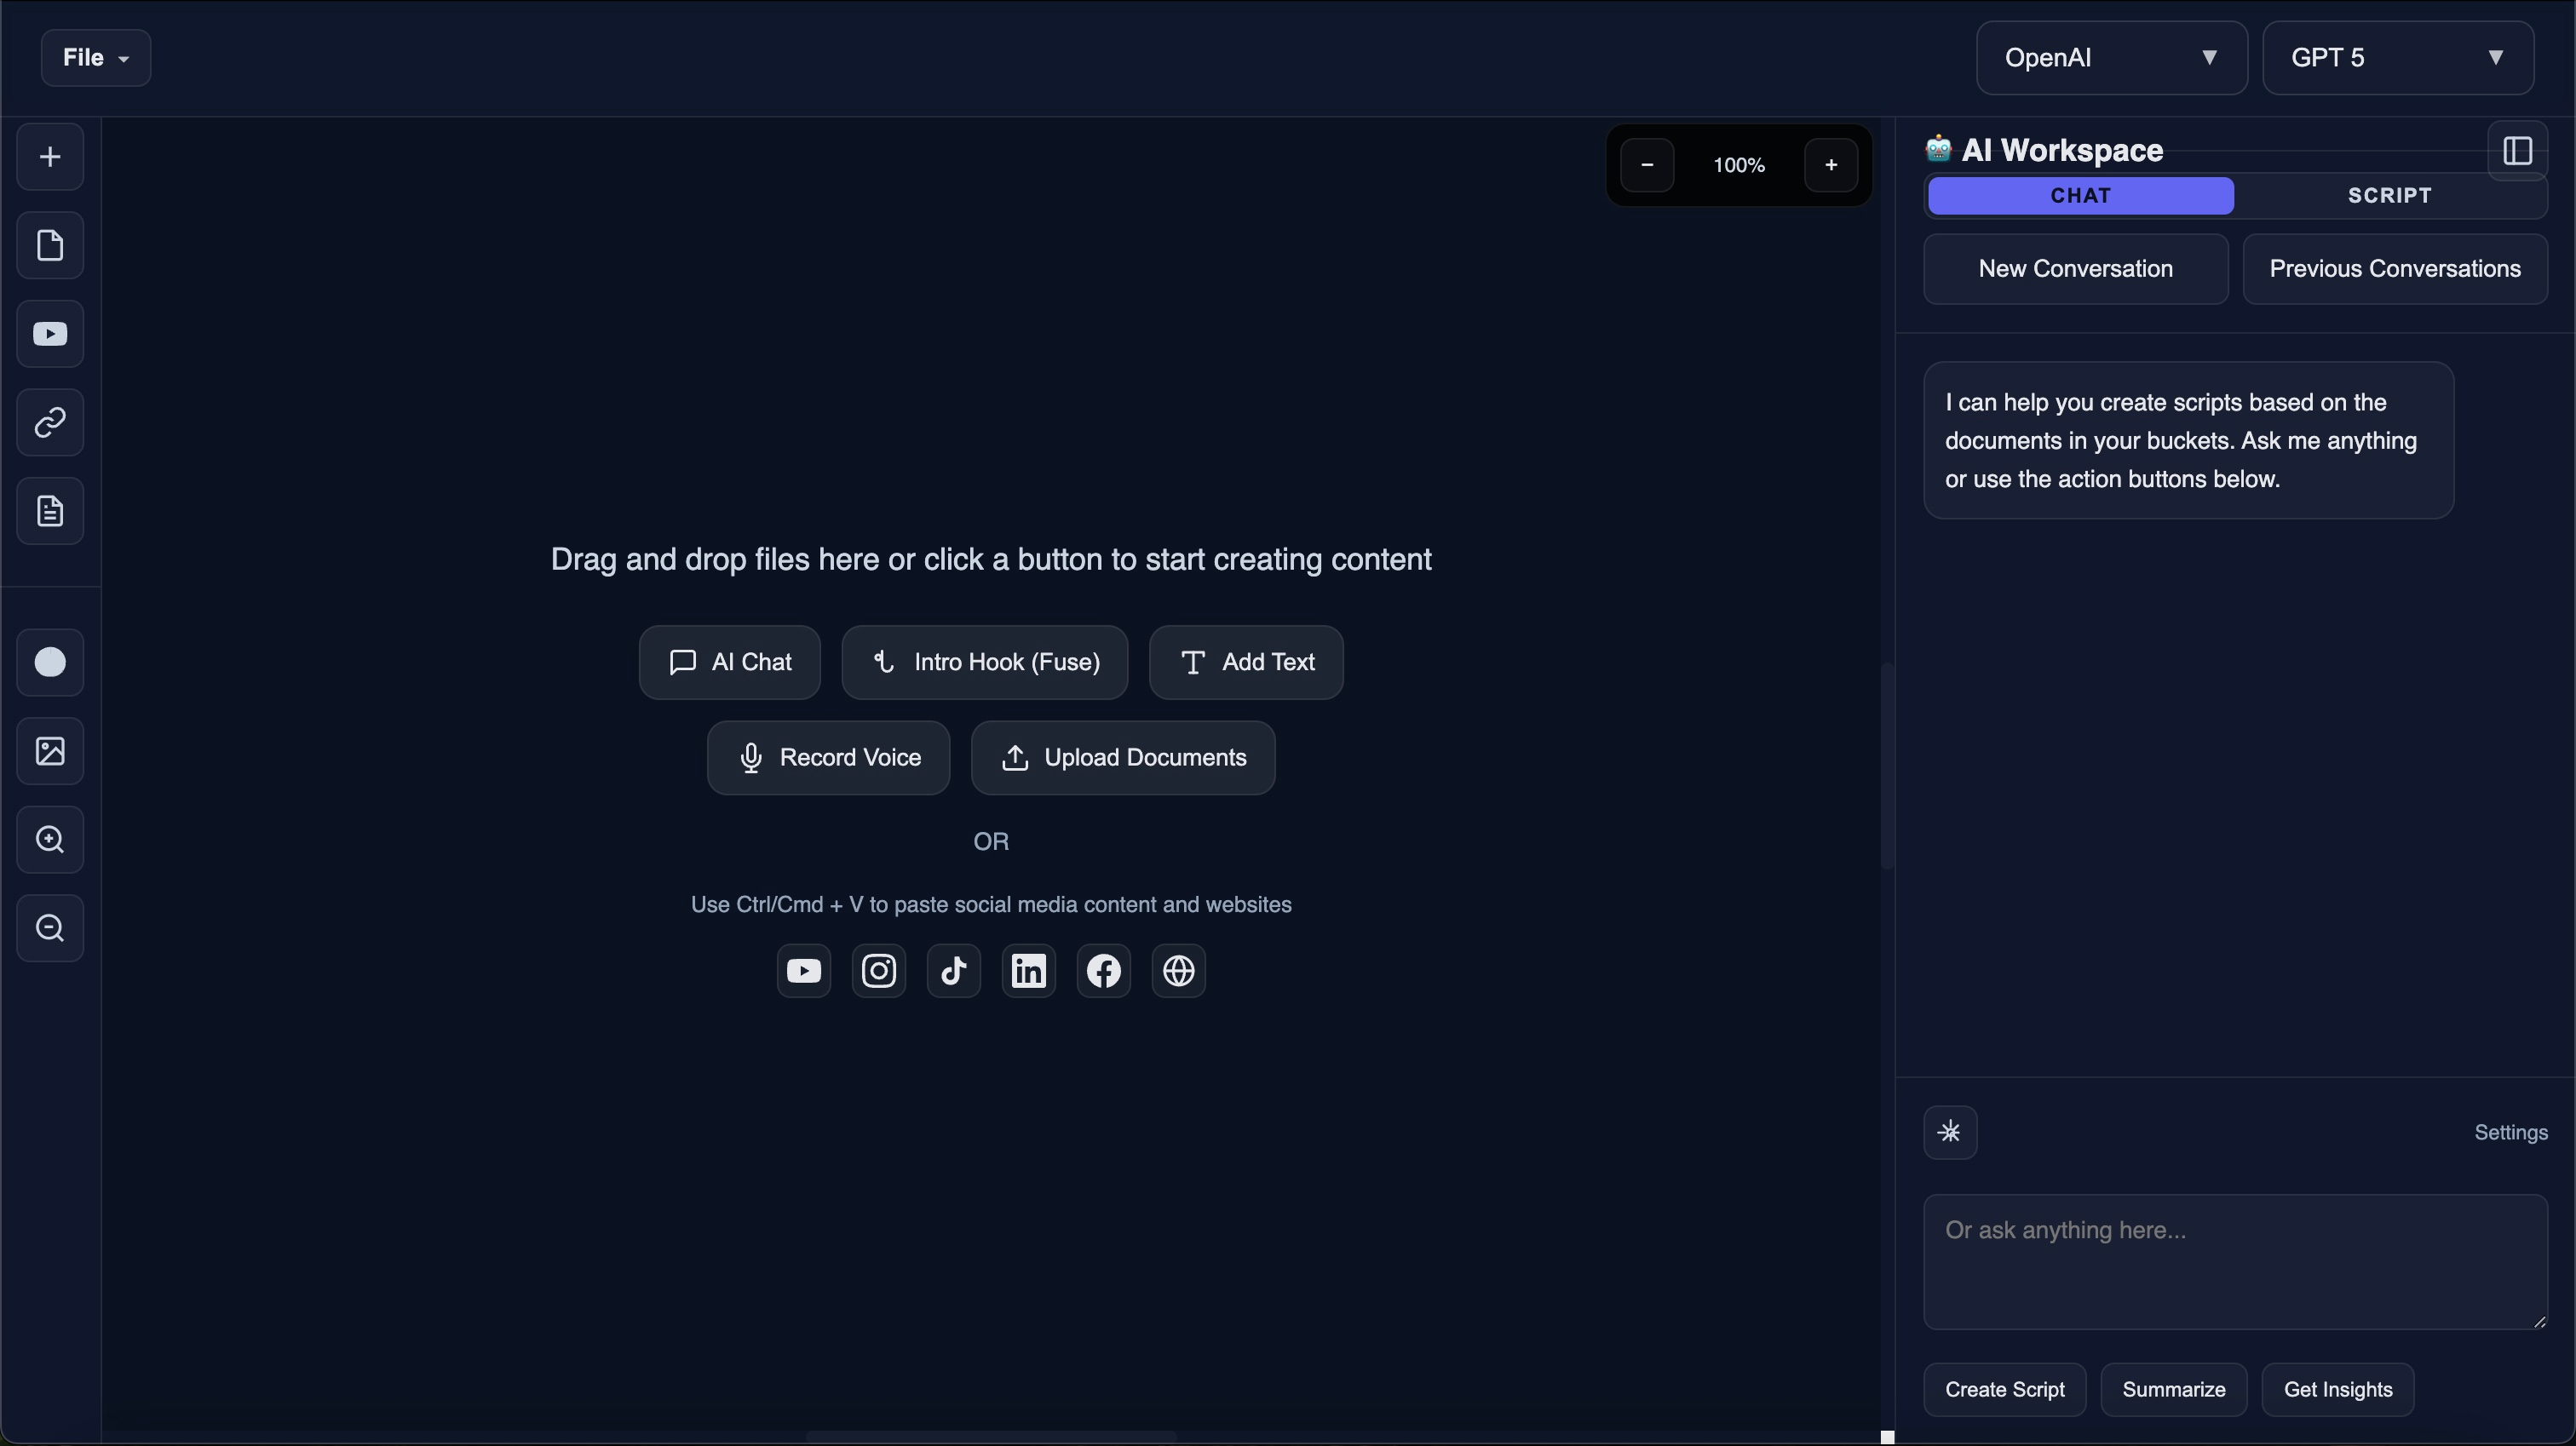
Workspace layout
The planner window is built around four areas that work together:
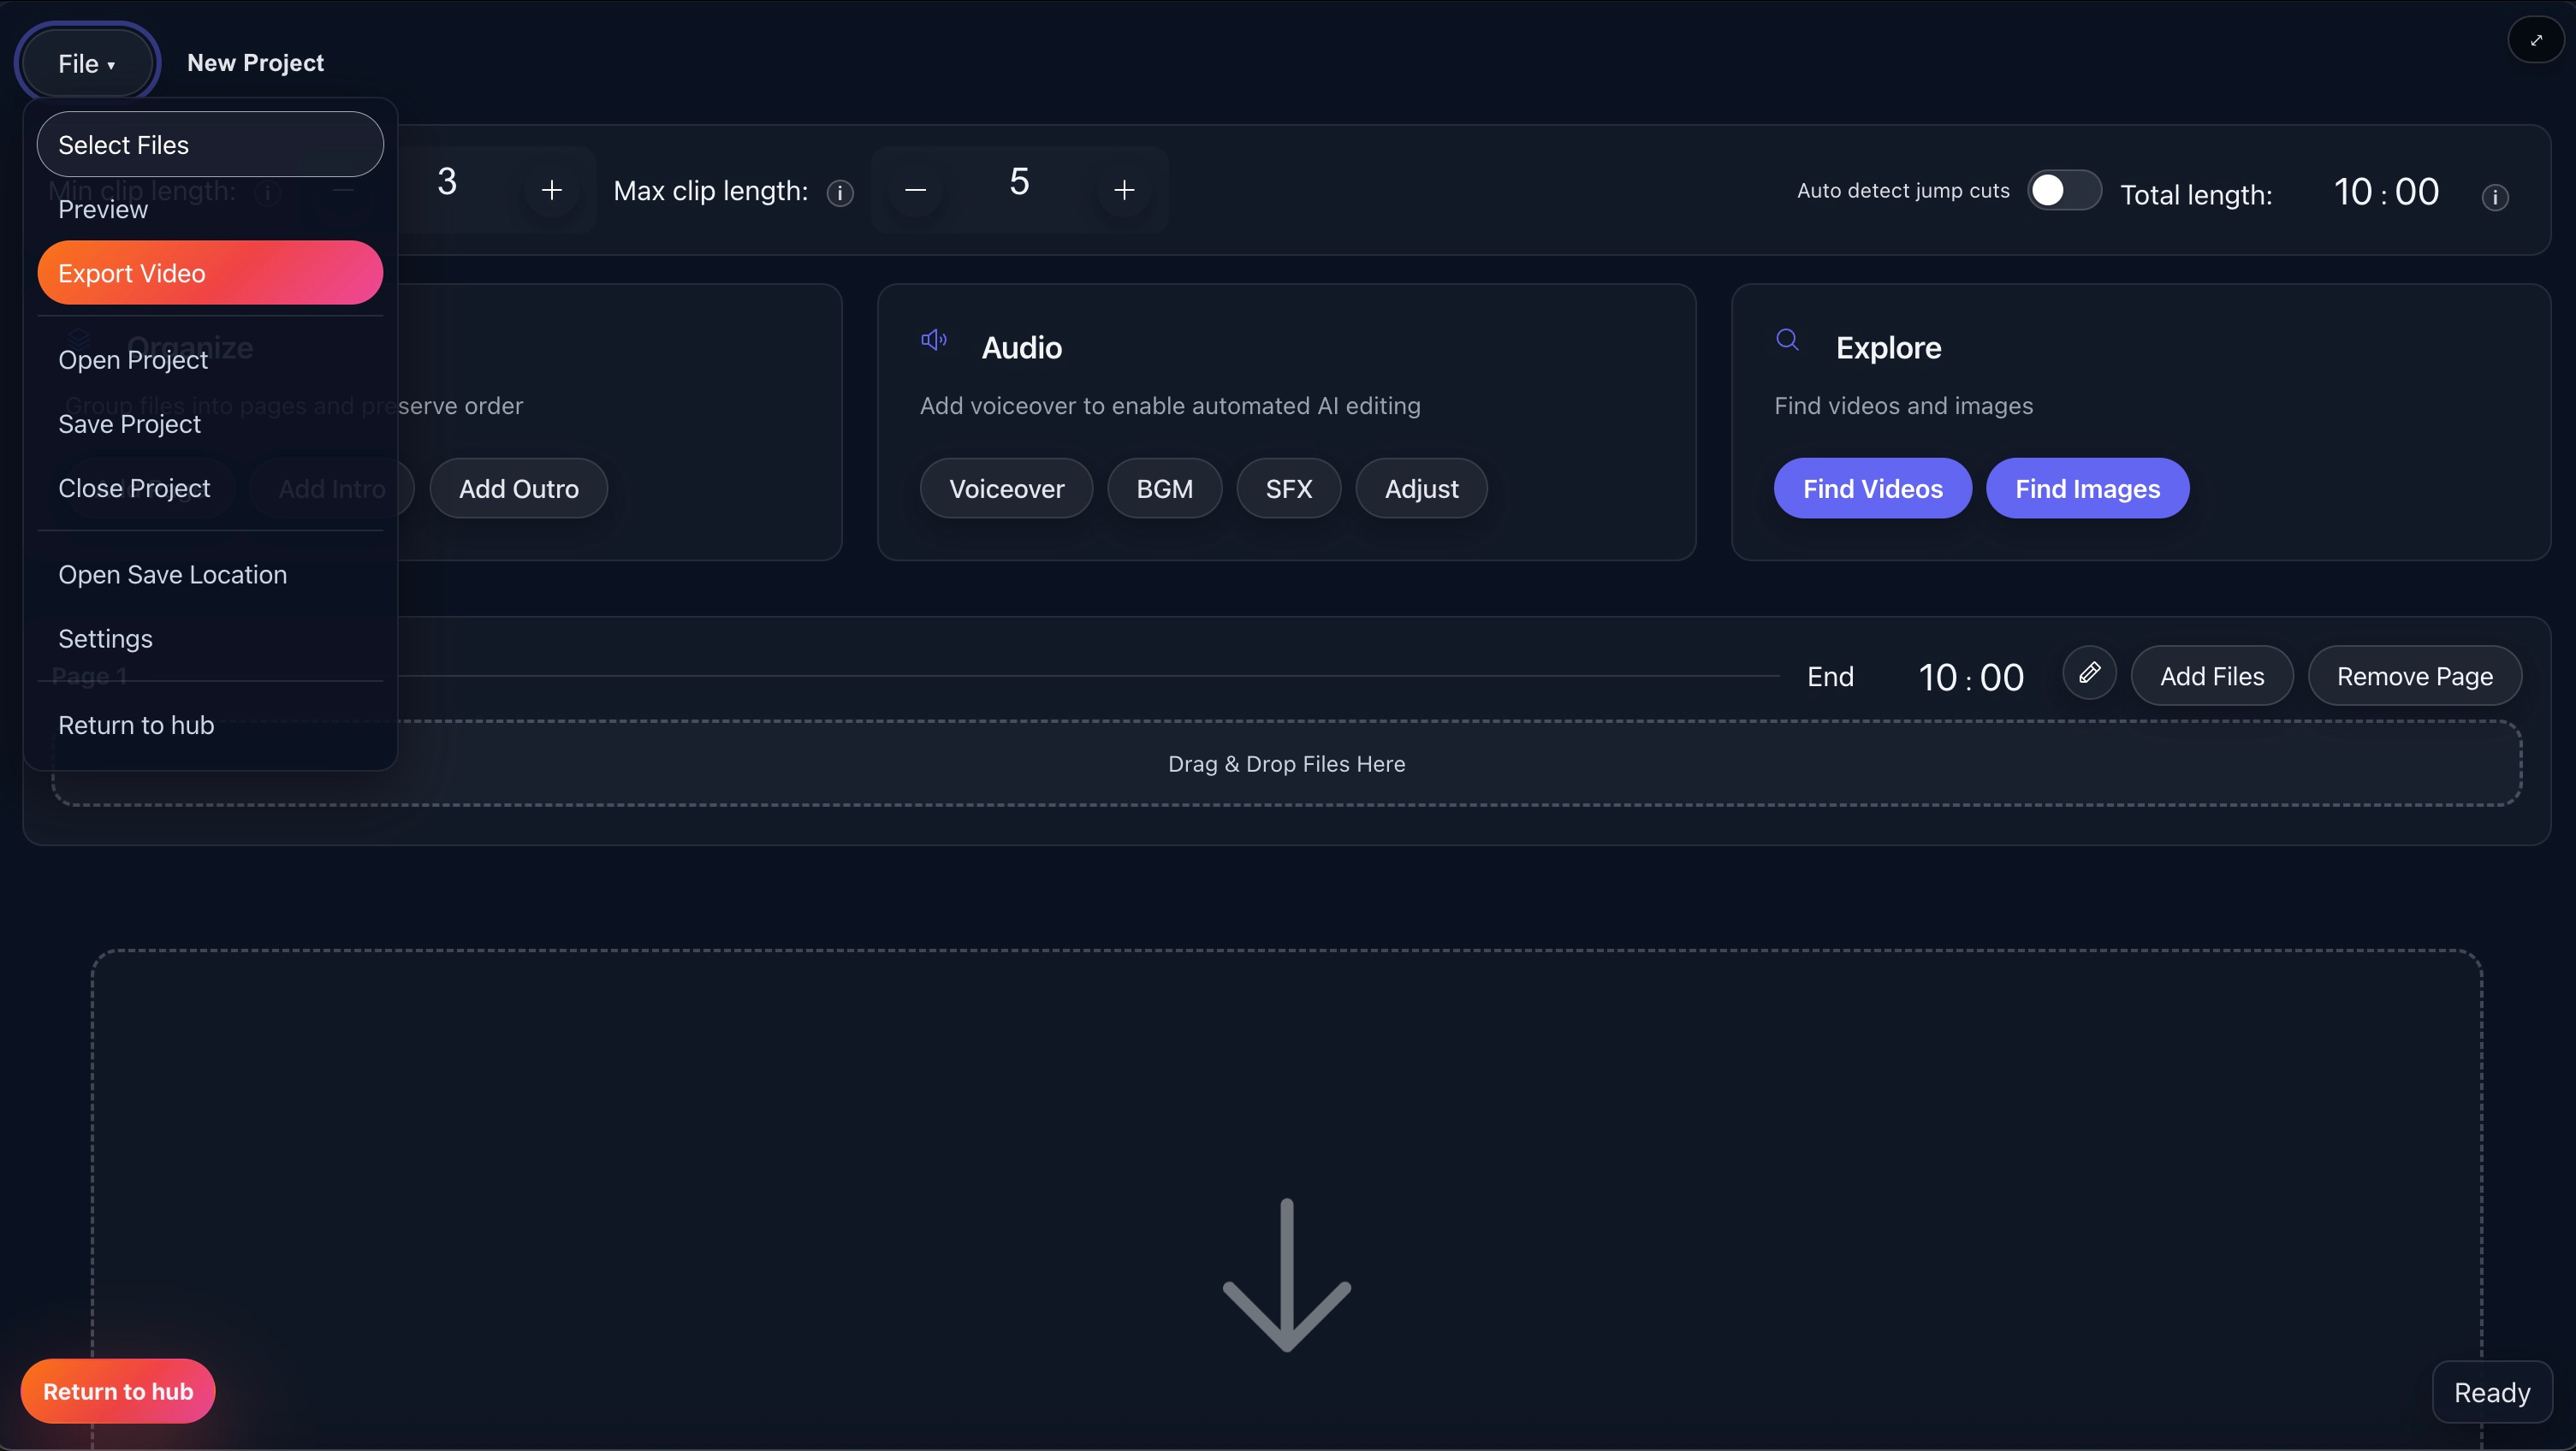
File menu: The top-left menu holds Add Idea, Import CSV,
Suggest Ideas, Show Posted, Delete Drafts, and Exit Idea
Planner.
Channel row: Select the planning channel, manage channels, and connect or manage
YouTube auth for that selected channel.
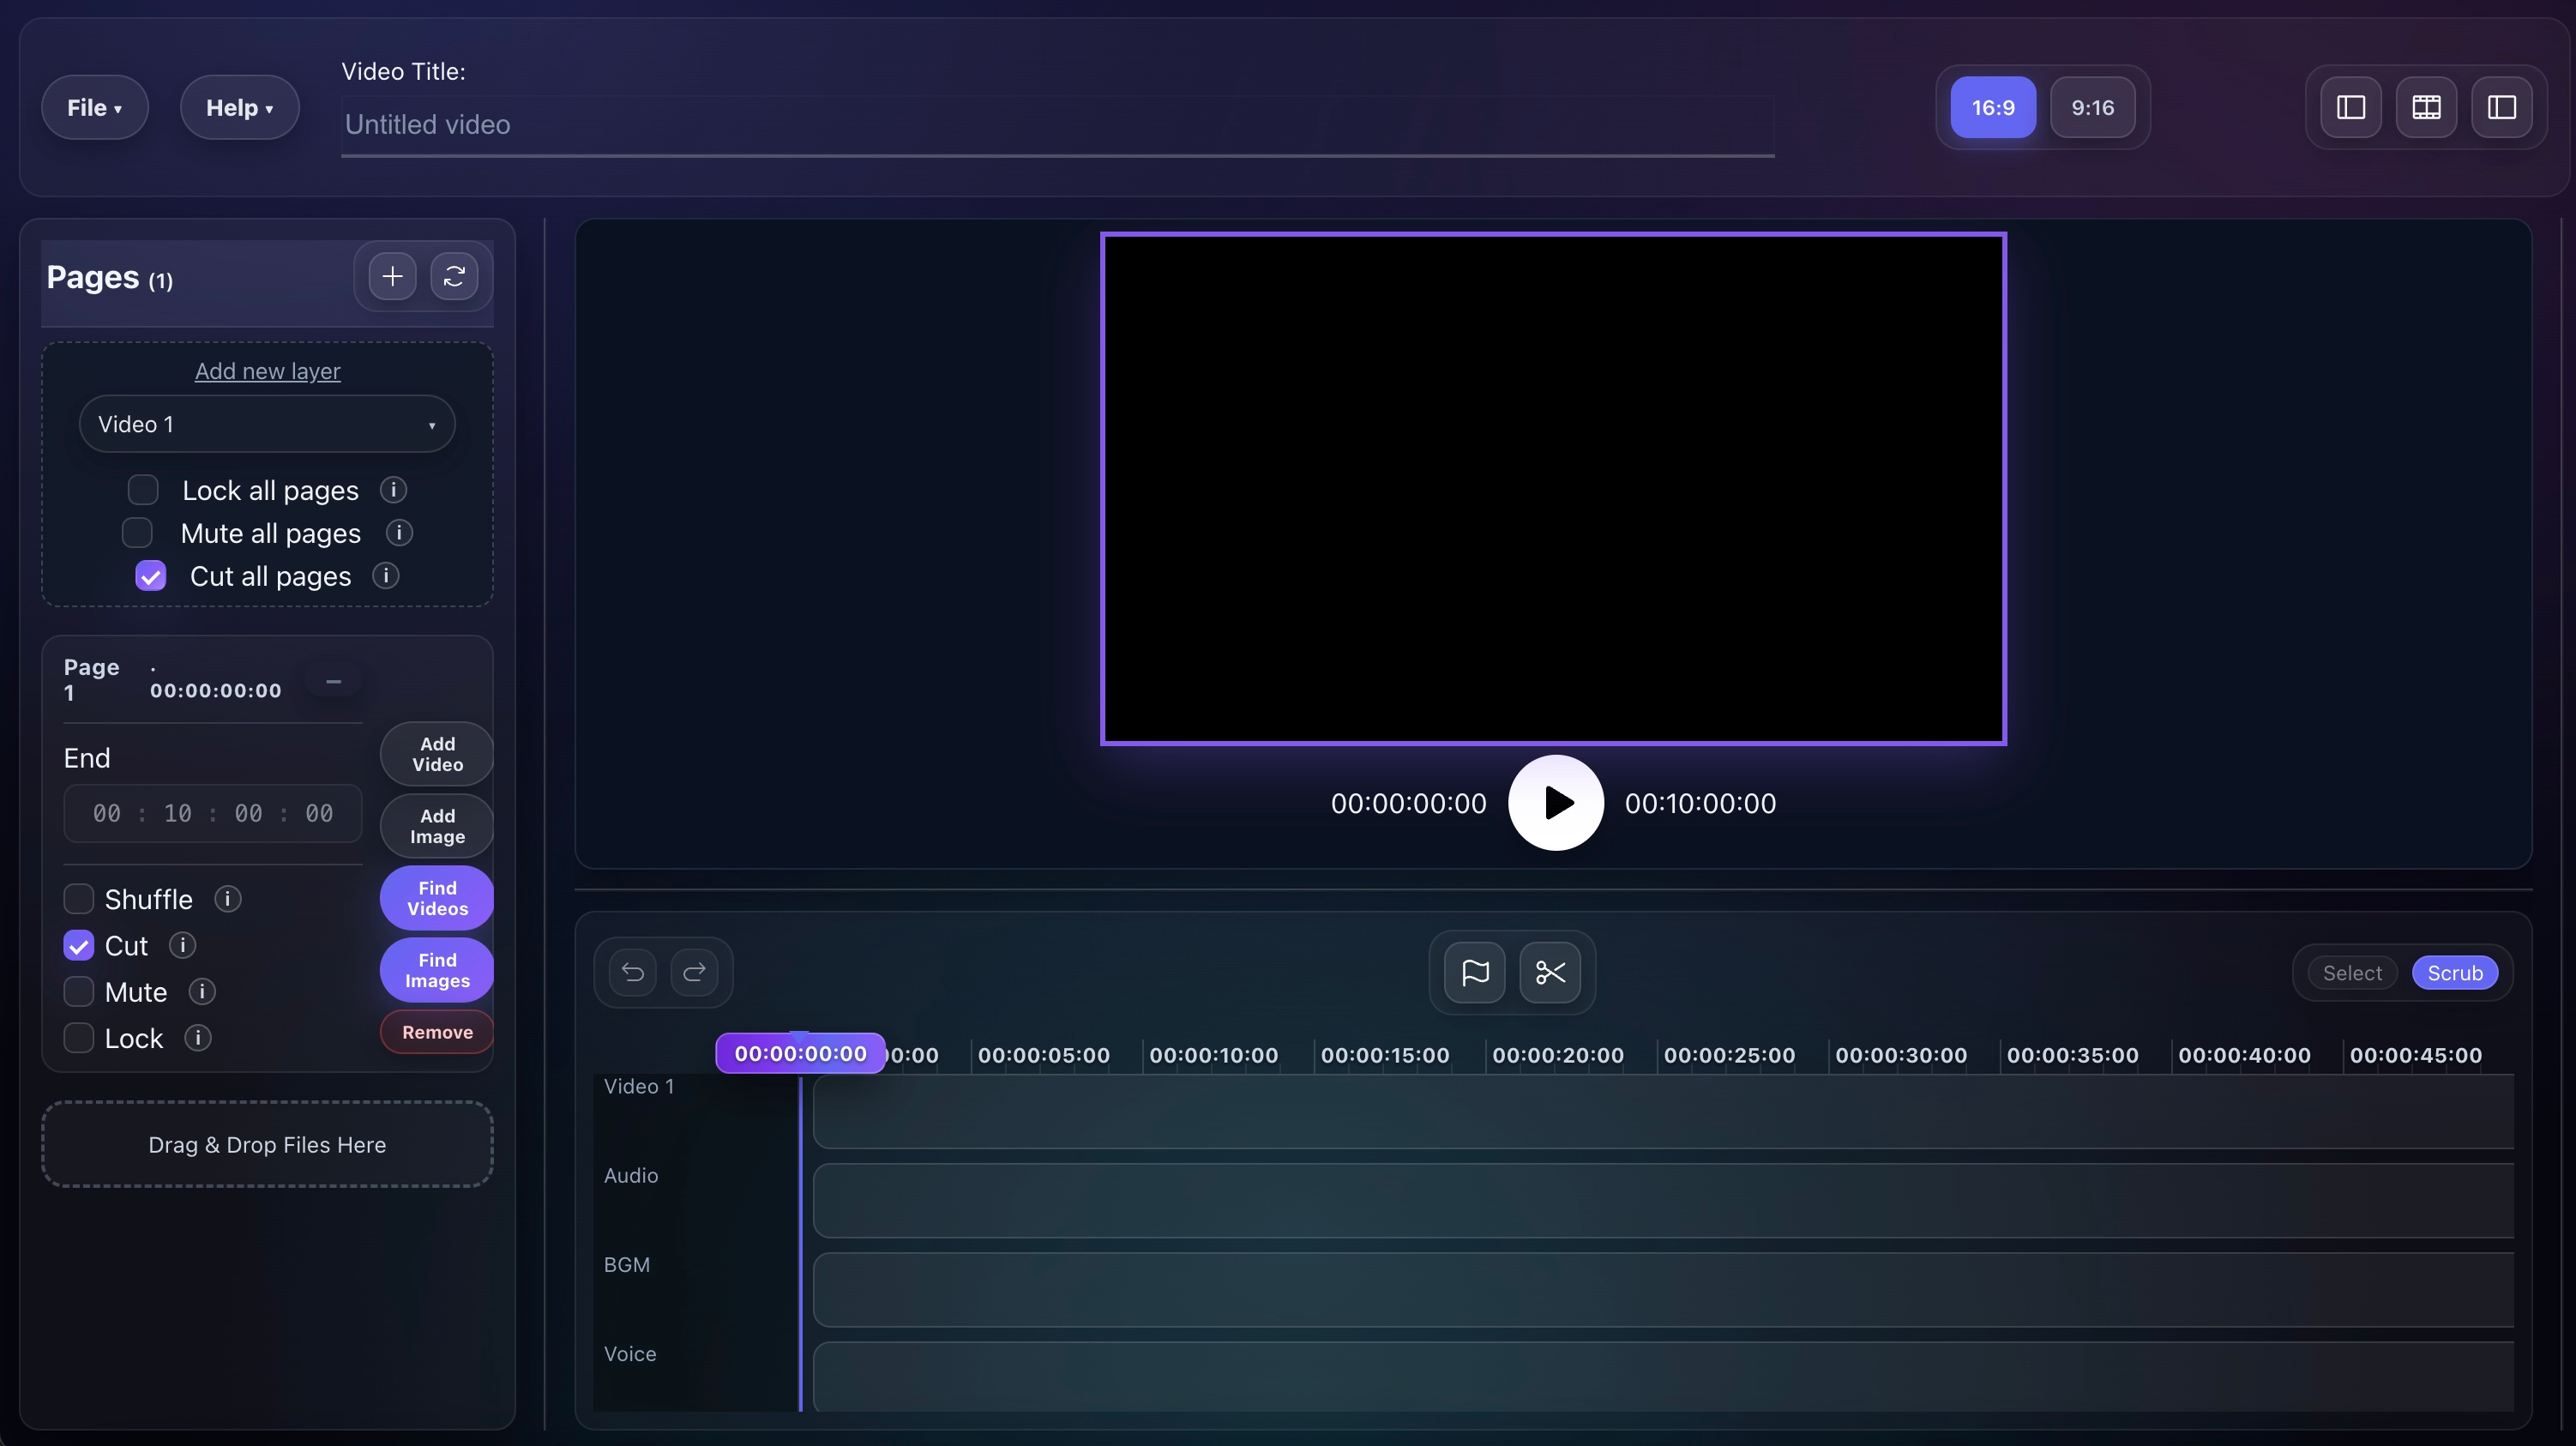
View switcher: Toggle between List, Calendar,
and Posted depending on whether you are planning, scheduling, or reviewing finished
uploads.
Idea area: The main body shows filters, the next-post recommendation bar, and the
list or calendar of ideas for the current account.
Channel selection and YouTube connection
At the top of the planner, Fractal shows the currently selected planning channel. This matters
because ideas are stored with account/channel context and because upload-ready options depend on the
selected channel matching your connected YouTube auth.
Select channel first: Pick the account you are planning for before you start
adding a batch of ideas.
Manage Channels: Use this when you need to switch between saved channels or clean
up your planning targets.
Connect / Manage YouTube: Required for upload-aware flows, connected-channel
details, and auto upload/post controls.
Mismatch protection: If the selected planner channel does not match the connected
YouTube account, Fractal disables auto upload/post so you do not accidentally publish to the wrong
place.
List, Calendar, and Posted views
List: Your main planning view. This is where filters, counts, next-post guidance,
and the full idea library are easiest to manage.
Calendar: Shows ideas by publish date so you can see content spacing, gaps, and
batching opportunities for the month.
Posted: A separate view for ideas that are already marked as posted. Use it as
your done column, not as a schedule queue.
Important: A scheduled date alone does not make an idea posted. Planner
items stay in draft/planned status until they are actually uploaded or you manually mark them as
posted.
Filter and plan
The Filters section is built for larger idea libraries.
Search: Search title, focus, and channel text.
Channel filter: Narrow the list to one channel when you keep multiple content
systems inside the same app.
Idea Type filter: Filter by Pillar, Anchor, Cluster, Collision, or Bridge.
Date range: Focus only on a planning window such as this week, this month, or a
campaign launch period.
Show Posted: Keep posted items out of the main list by default, then turn them on
only when you want historical context.
Add an idea
The Add Idea modal is the heart of the planner. It is where you turn a rough topic
into a production-ready brief.
Main planning fields
Video Idea: Your internal working title or concept name.
YouTube Title: Optional public-facing title. This can be different from your
internal idea name.
AI Title: Generates a higher-CTR title suggestion from the idea/script context.
Video Focus: The core takeaway, angle, promise, or coverage direction for the
video.
Idea Type: The role this idea plays in your channel strategy.
Idea types and strategy roles
Pillar: A core topic that can support multiple surrounding videos. Use this for
the big strategic theme.
Anchor: A dependable, high-clarity video that grounds the topic and usually
satisfies strong existing demand.
Cluster: A supporting subtopic, spin-off, or expansion around the main pillar.
Collision: A crossover angle that combines two topics, frames, or audiences to
create novelty.
Bridge: A connector video that helps the channel move from one topic area into
another without losing audience context.
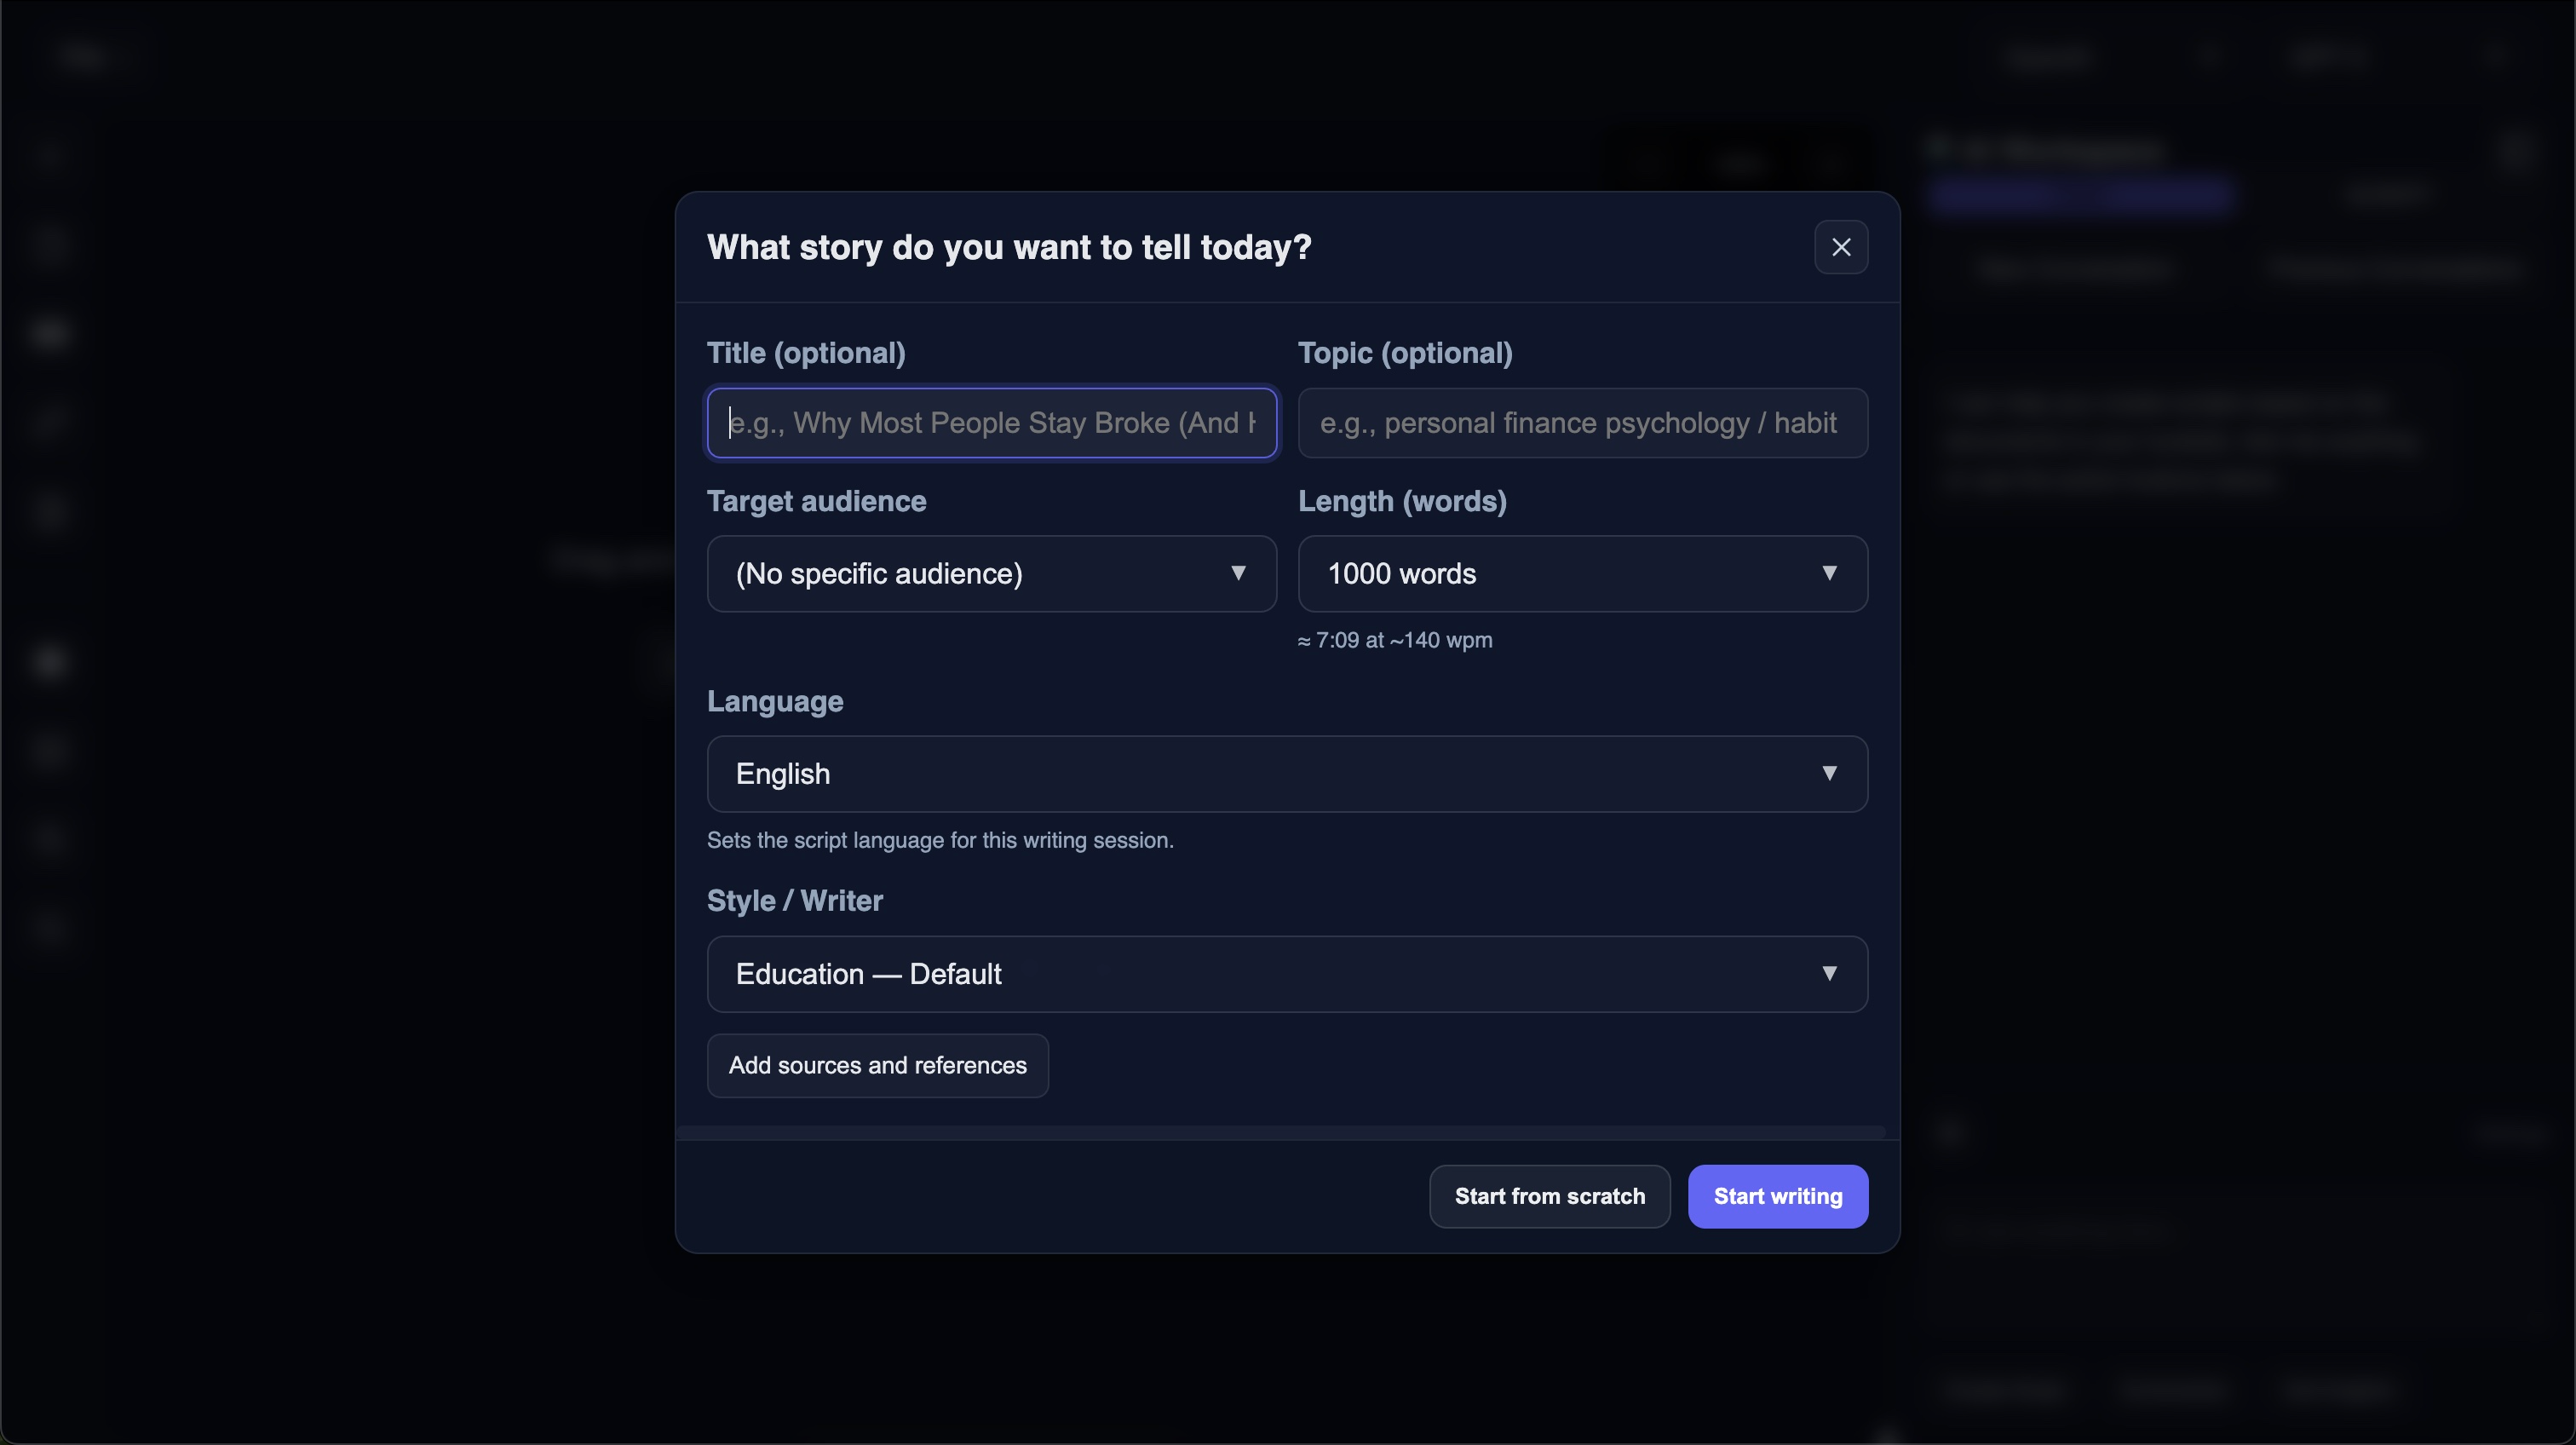
Script options
Auto-generate script on: Fractal writes a fresh script from the idea when you
hand it off downstream.
Auto-generate script off: Paste your own full script into Custom
Script and Fractal will use that directly for breakdown and beats.
Manage Scripts: Open the planner's built-in script manager to add, save, edit,
and reuse script records without leaving the planner.
YouTube details
YouTube Description: Write your own description up front or leave it blank so
later automation can generate one.
YouTube Tags: Add manual comma-separated tags if you already know them.
Generation Controls: Independently tell Fractal whether to generate title,
description, tags, and thumbnail later instead of using manual values.
Publish Date: Determines calendar placement and scheduled planning context.
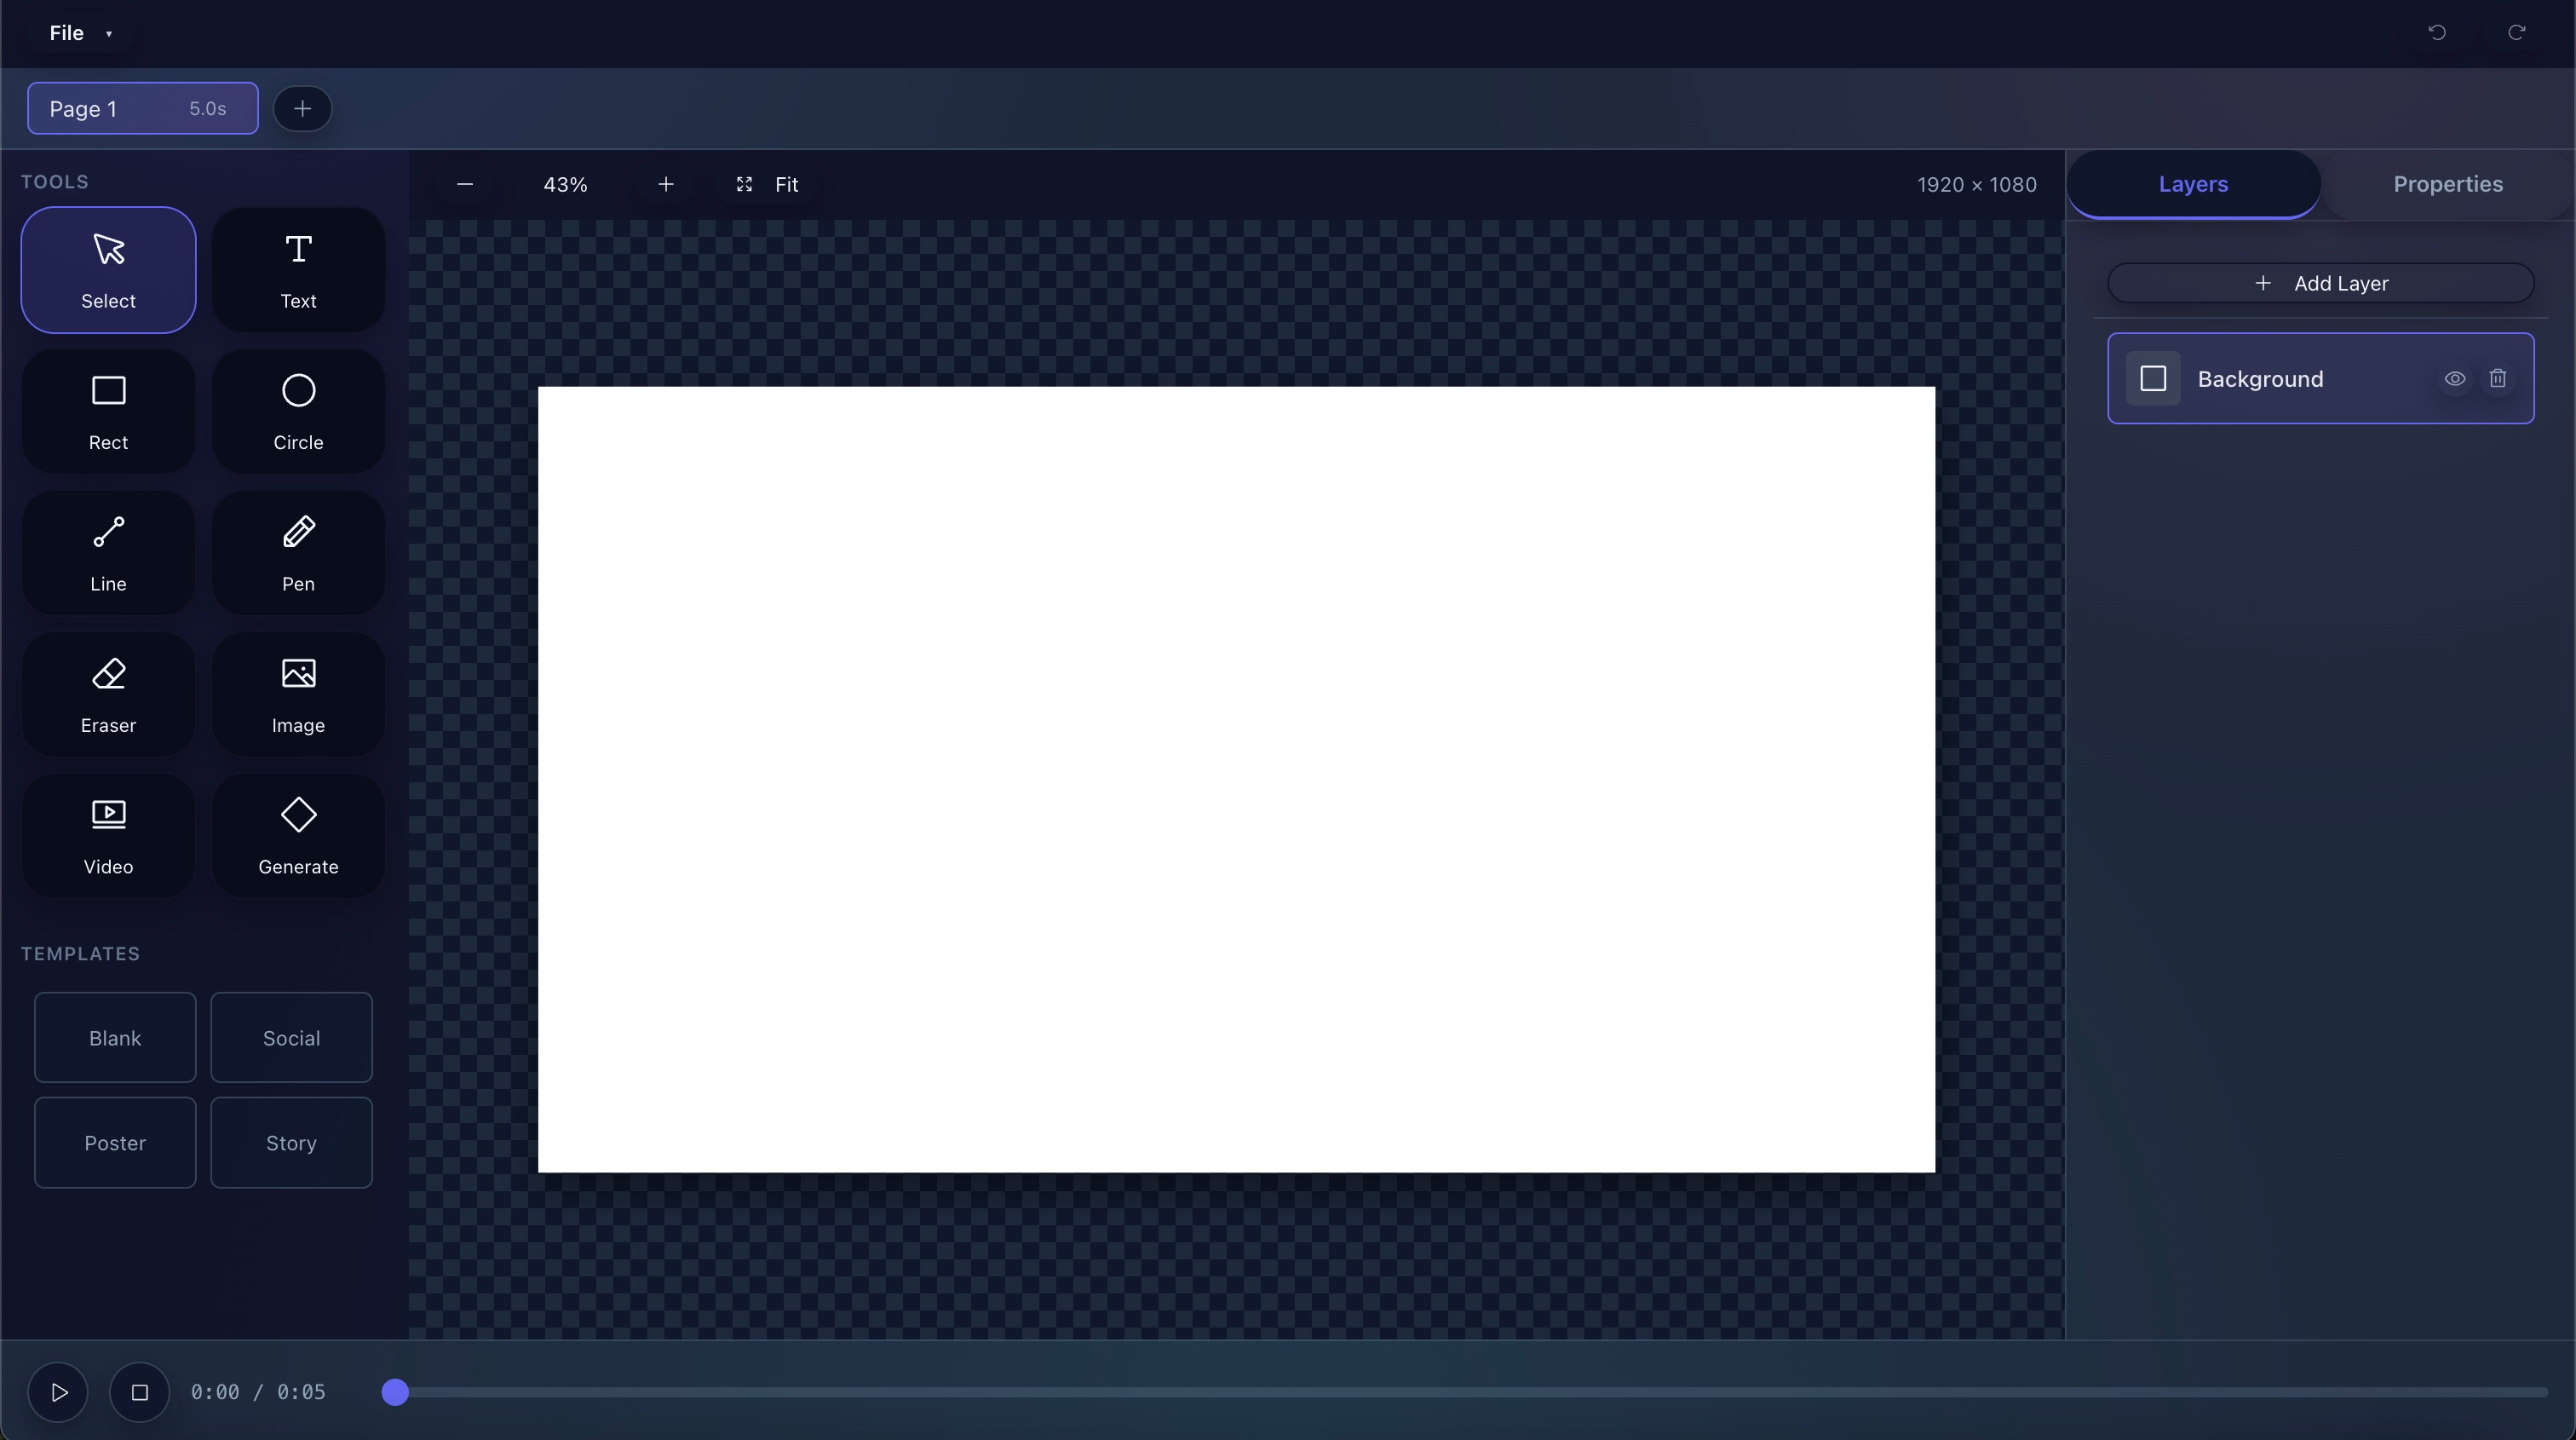
Assets and links
Video File: Link an already rendered file to the idea if the asset already
exists.
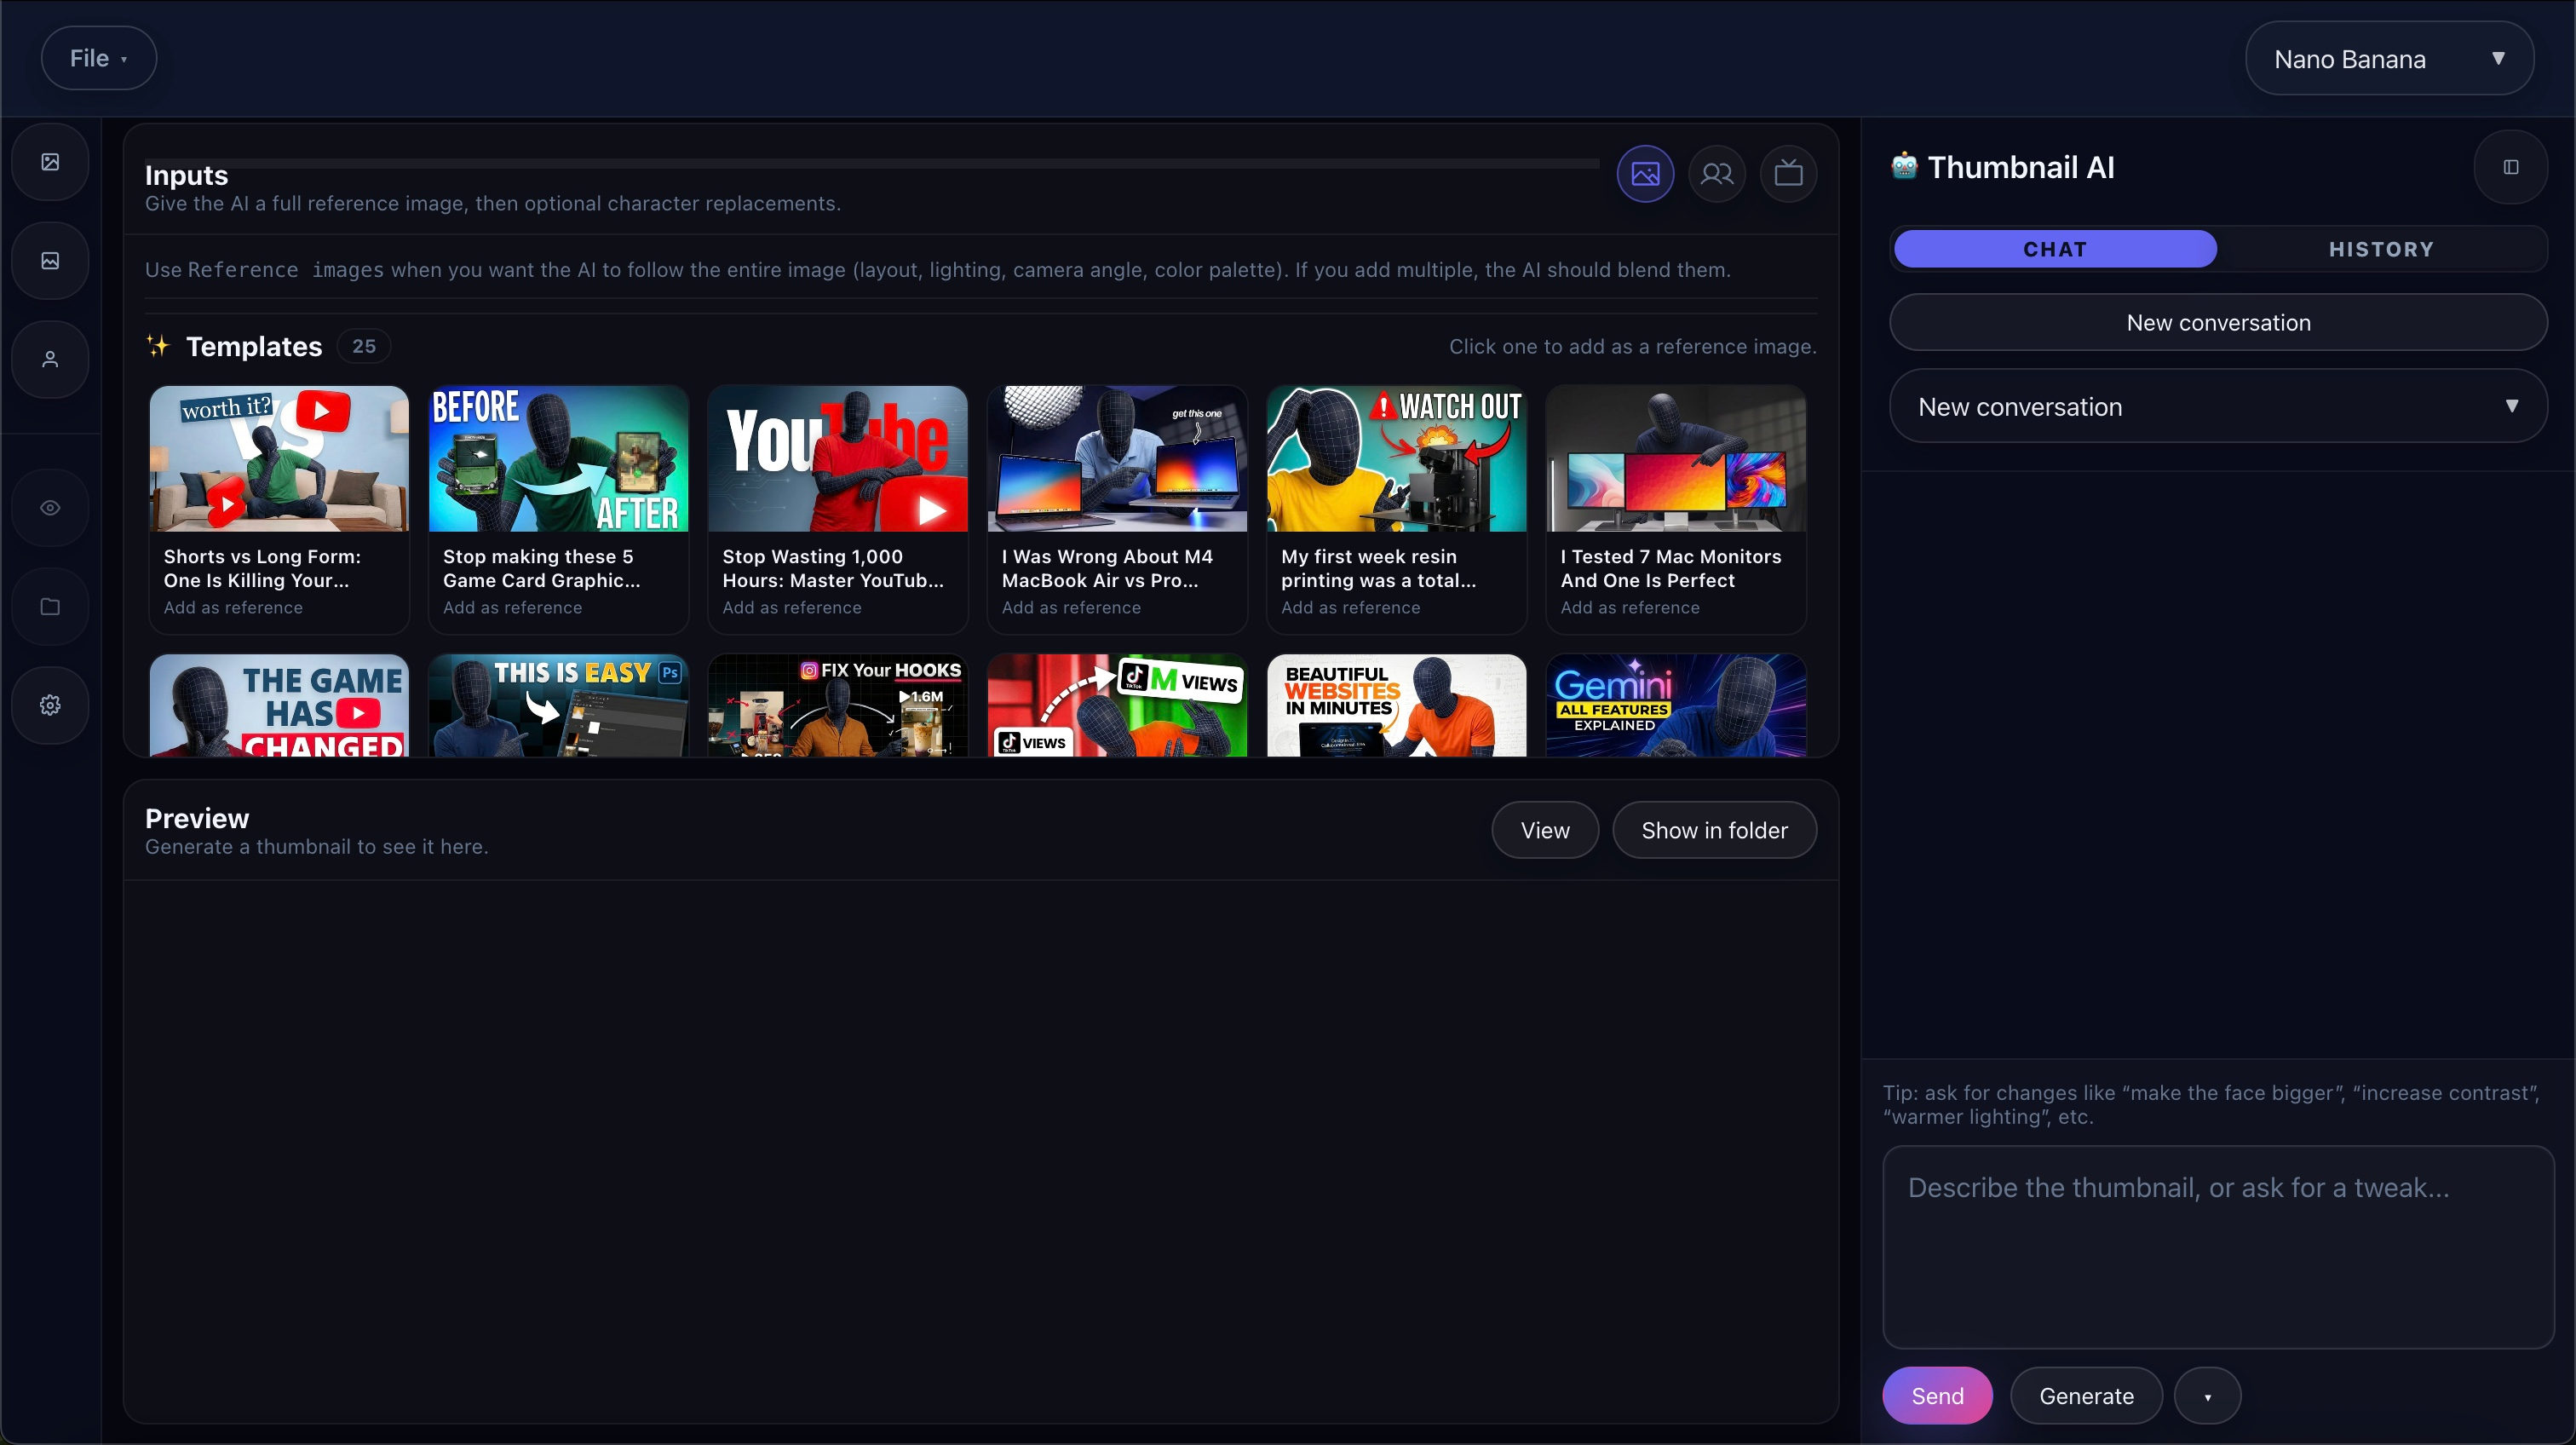
Thumbnail: Attach a final thumbnail image. If you do, Fractal treats that as the
thumbnail to use instead of generating a new one later.
Channel: Store the intended channel name with the idea for organization and
downstream upload context.
Use a YouTube video as a reference
Every idea can optionally include a YouTube video as a research reference.
Add reference link: Paste a YouTube watch URL in the reference section.
Auto-enrichment: Fractal fetches the title, thumbnail, video ID, and available
reference details.
Use case: Save competitor structure, inspiration, pacing, framing, or proof
examples without losing the original source.
Create with AI handoff: If a reference is attached, the planner can launch Create
with AI with that research context already passed in.
Suggest Ideas
Suggest Ideas is the planner's batch ideation tool. Instead of manually adding every
concept, you can generate a large set of title ideas and import only the ones worth keeping.
Choose volume: Generate 10, 30, 50, or 100 ideas at a time.
Choose the seed source: Use your own channel titles, competitor titles, a mix of
both, or a custom channel URL/@handle/channel ID.
Preview Source: Load source titles first so you can confirm Fractal is pulling
from the right channel set.
Custom seed text: Add a phrase, angle, or topic constraint to steer the generated
ideas toward a specific direction.
Selective import: Review the generated list, keep only the best titles checked,
and import them into the planner in one action.
Imported suggestions arrive as draft ideas. They are not posted, not scheduled by default, and can be
enriched later with focus, scripts, thumbnails, and Create with AI settings.
Import CSV
If you already plan in a spreadsheet, the planner can absorb that work with the CSV importer.
Expected columns: Video Idea, Video Focus,
Publish Date (YYYY-MM-DD), and Channel.
Date normalization: Fractal tries to normalize imported dates into the right
format when possible.
Skip empty rows: Rows without a title are skipped instead of creating junk
records.
Draft-first behavior: Imported ideas remain drafts until you upload them or
manually mark them posted.
Template download: Use the built-in CSV template if you want a safe starter file.
Explore and build a plan
The Explore button in the header and on individual rows opens the planner's deeper
idea-mapping flow. This is where Fractal turns one topic into a structured plan of related video
angles.
Topic-first exploration: Enter a topic manually or start from an existing idea
row.
Pillar-first map: Fractal builds a main pillar idea plus supporting Anchor,
Cluster, Collision, and Bridge groups.
Live research progression: The modal can fill in while research and AI synthesis
are still running, so you can see the map taking shape.
Research snapshots: Open any plan card to view entity summaries, AI summaries,
related topics, and evidence sources.
Save back to library: Save one idea, one entire type group, or the whole plan
directly into Idea Planner.
This is especially useful when you know the broader subject but do not yet know how to split it into
a full publishing system.
Next-post recommendation
At the top of the List view, Fractal can recommend what kind of video should come next for the
currently selected channel. It looks at what has already been marked posted and suggests the next idea
type that would balance the channel mix more intelligently.
Use it for sequencing: Helpful when you have many good ideas but are not sure
what to publish next.
Read the rationale: The bar explains why that type is being recommended.
Think strategically: It is less about "the best standalone title" and more about
"the best next role in the system."
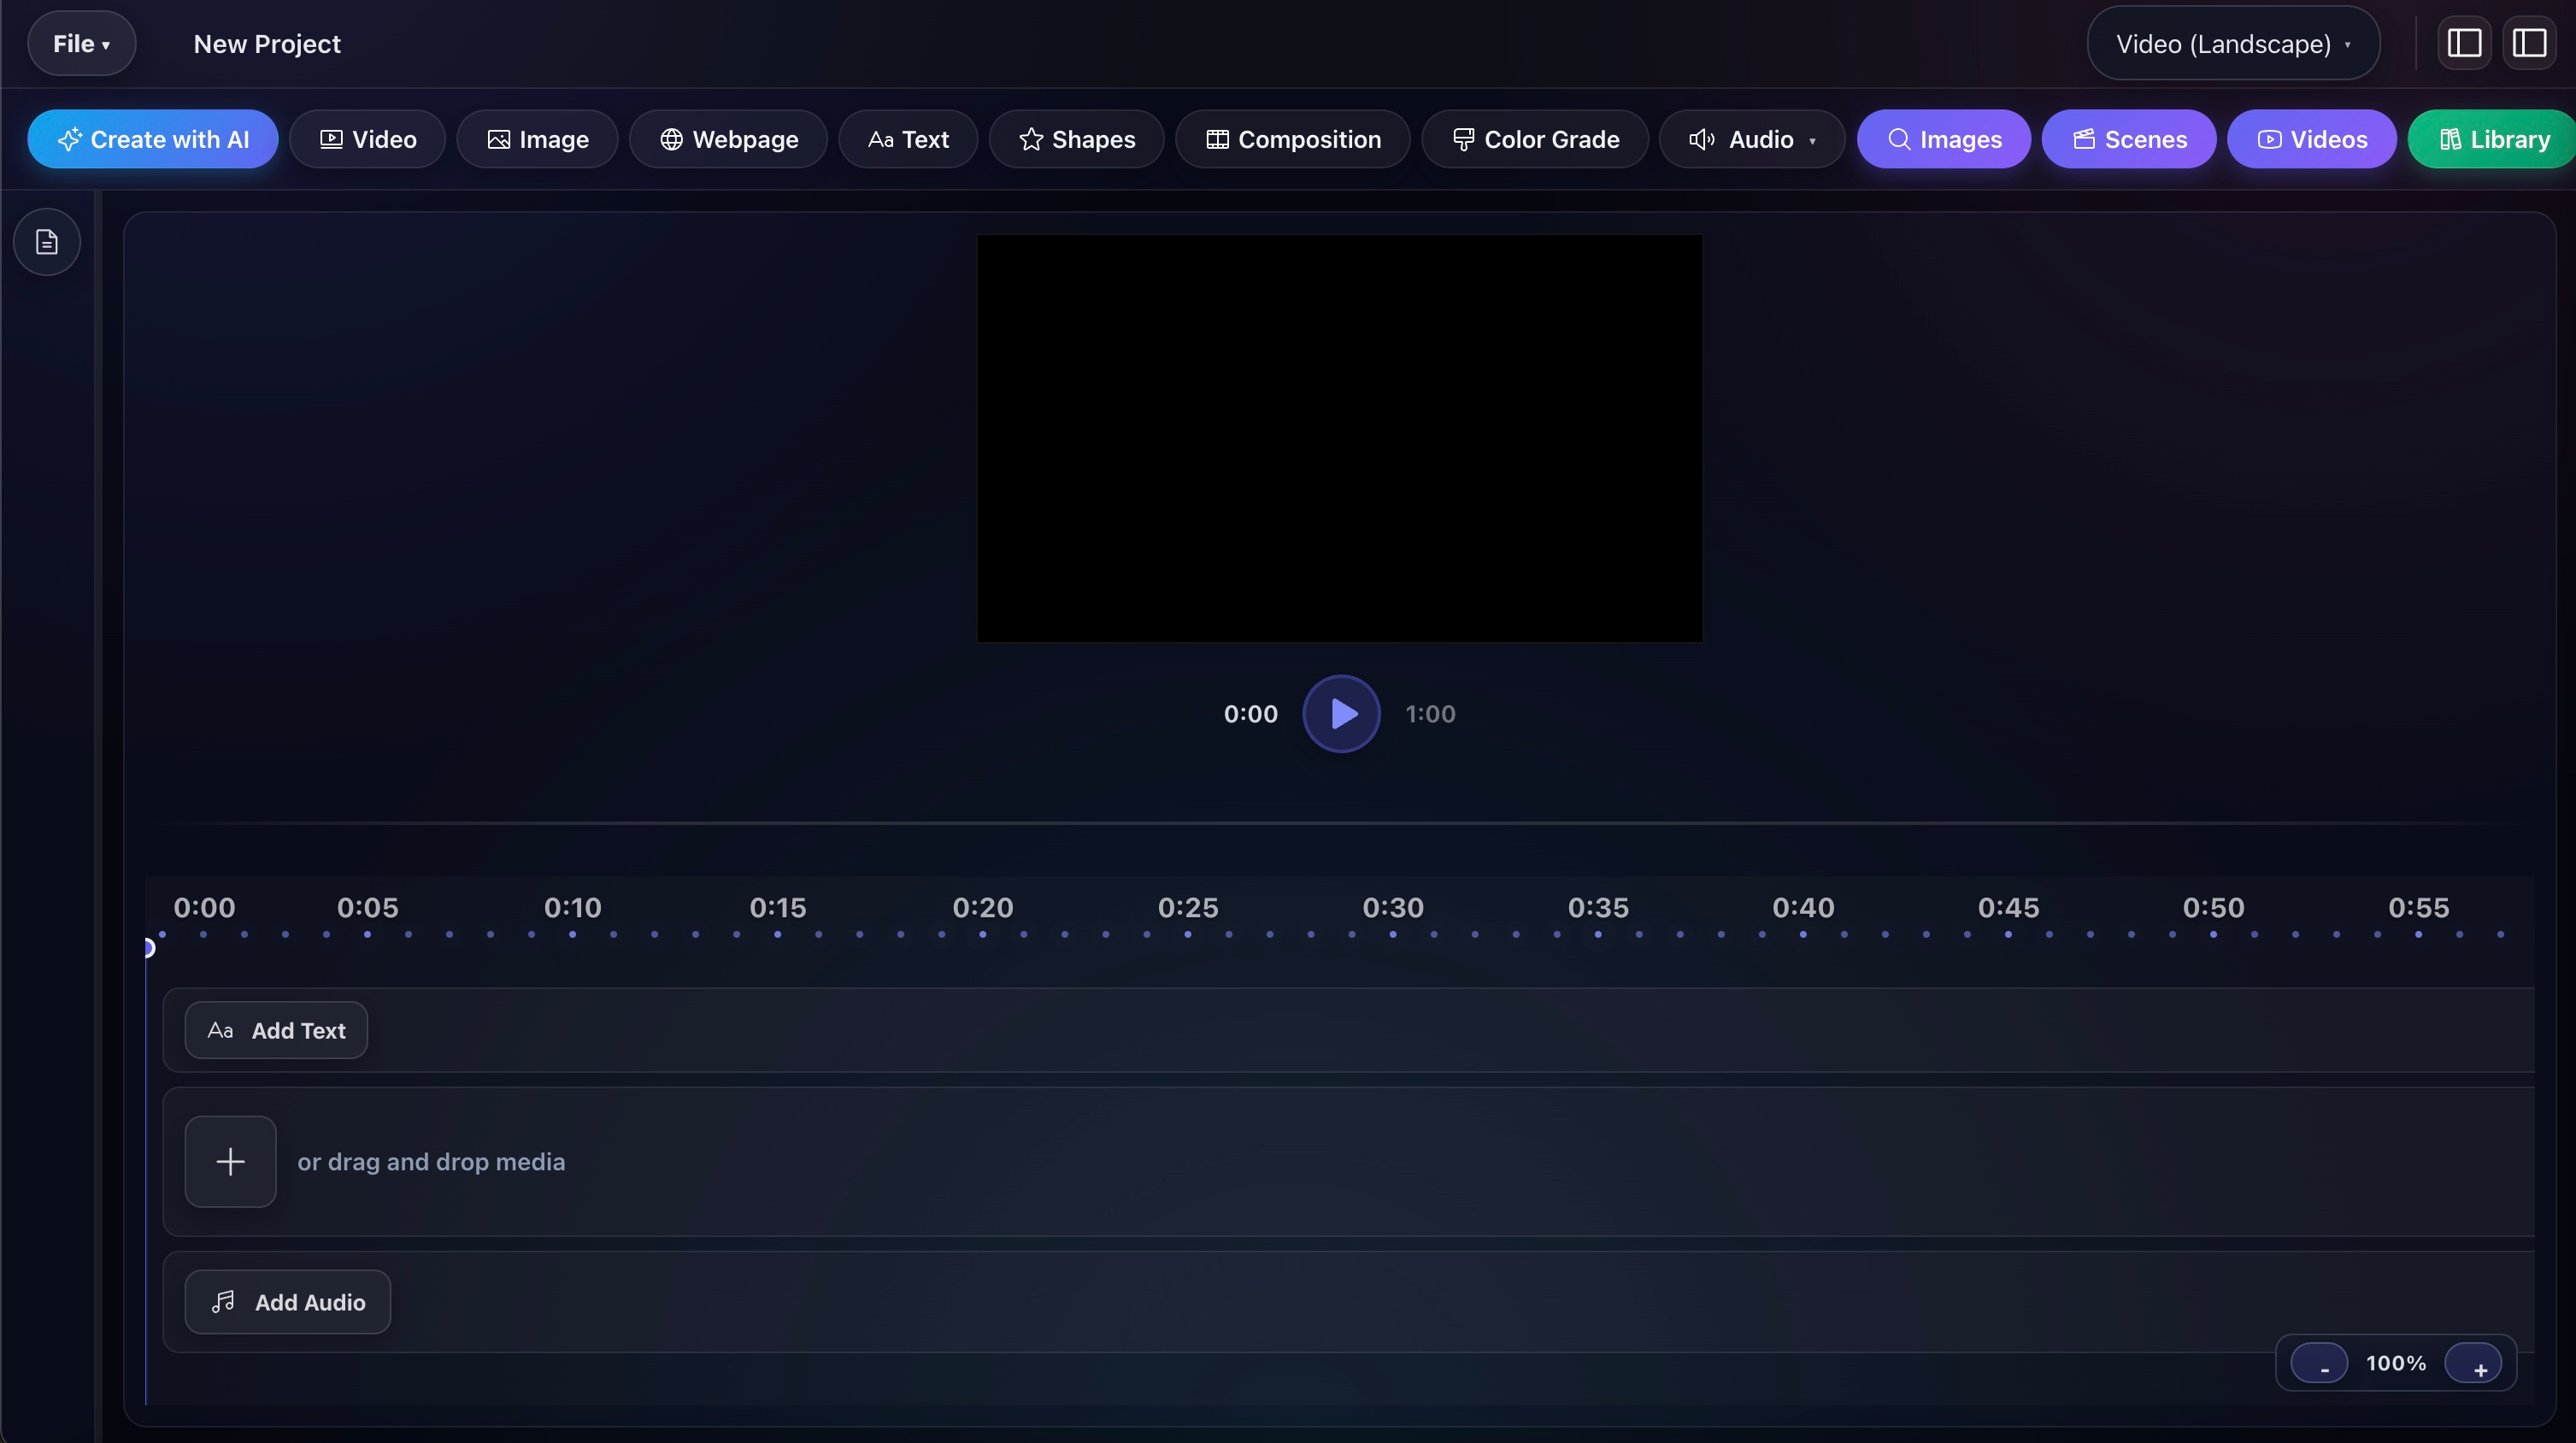
Send an idea to Create with AI
Idea Planner can launch directly into Create with AI, but each idea
needs a little setup first.
Required fields: Set a Create with AI preset and a
Create with AI duration before using the launch button.
Preset parity: The preset list matches the style/preset system used in Video
Creator.
Planner options carry forward: Title generation, description generation, tag
generation, thumbnail behavior, manual details, and research context are passed into the Create
with AI launch.
Reference-aware launch: If the idea has a YouTube reference, Fractal opens Create
with AI with the research URL already supplied so the flow can start from stronger context.
Platinum feature gate: The planner itself is a Pro feature, but direct Create
with AI launching still depends on Platinum access.
Track posted videos
Draft / planned: The default state for new, imported, or suggested ideas.
Posted: Mark an idea as posted after it is actually uploaded or live.
Unpost if needed: If you marked something posted too early, you can move it back
to the draft side.
Delete All Posted: Clears the posted archive for the selected account.
Delete Drafts: Clears non-posted ideas in bulk from the file menu when you want a
clean planning reset.
Best practices
Keep the internal idea title plain: Use the internal name for clarity and the
YouTube Title field for CTR-focused packaging.
Always fill in Video Focus: This is the fastest way to keep planning, scripting,
and AI generation aligned.
Use idea types on purpose: If every item is just a generic topic, you lose the
system-level value of the planner.
Add the publish date only when it is meaningful: Do not fake schedule precision
too early in ideation.
Use references for research, not copying: Save competitor videos to anchor your
research, then turn them into an original angle before production.
Save strong Explore results: The plan builder becomes much more useful when you
treat it as a reusable idea library, not just a one-time brainstorm.
Troubleshooting
Create with AI button says setup is missing: Add both a Create with AI preset and
a duration first.
Auto upload/post is disabled: Reconnect YouTube as the selected planner channel
or switch the selected channel so the IDs match.
YouTube reference will not save: Make sure the pasted URL is a valid YouTube
video link.
Custom script path will not save: If Auto-generate script is turned off, you must
paste a custom script.
Imported ideas are not in Posted: That is expected. CSV imports and suggested
ideas remain drafts until they are manually marked or truly uploaded.
Posted items clutter the main list: Keep Show Posted turned off
and use the dedicated Posted view instead.